$2 servos are used to throw turnouts on the layout and $2 servo controllers are attached to the servos to control their throw. The controllers allow for setting the servo throw in both direction. This eliminates over powering the points as you can move/set the servo to where the points barely touch the stock rails on both sides of the turnout. You do the final adjustment with everything in place and they can also always be adjusted again easily/quickly later if needed. No computer or other controller is needed to do this. You can find the info
( HERE ) and ask if you have any further questions.
For turnouts at/near the edge of the layout you can easily see the points as you are adjusting the throw. If they are a ways in or on an upper level it is hard to see the points as you adjust the throw. To handle that situation
I bought a $20 endoscope camera (bore scope to car guys) and designed a mount to mount the camera above the points. The camera attaches to your phones USB port and you can now easily see what is going on as you adjust the servo throw with the servo controller.
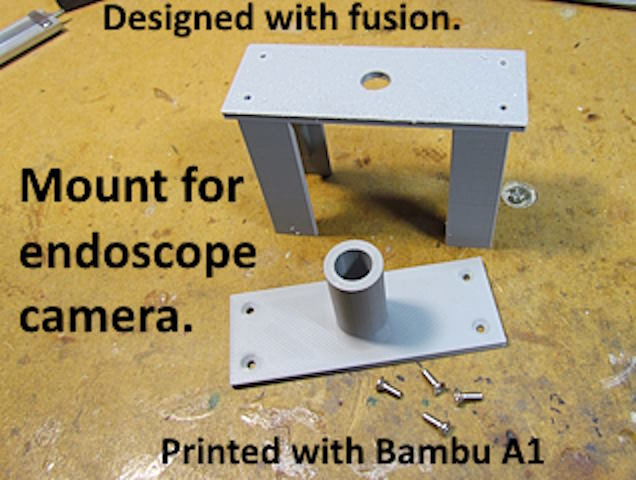
Once I had an idea of what I wanted in a mount for the camera it took less than an hour to design it with my free Fusion copy. Then a little over 2 hours to print it with my new Bambu A1 (like the printer a lot). I designed it in two parts to make printing easier, not needing any supports. The four holes in the bottom are drilled and tapped for 2-56 1/4" flathead screws.
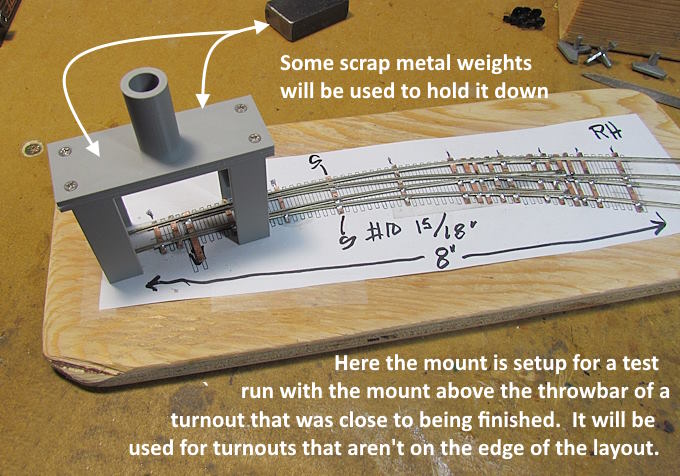
The mount was designed so that some scrap metal weights I had cut and use in turnout builds could sit on the mount and stabilize it. For a test run I set the mount and camera up.....
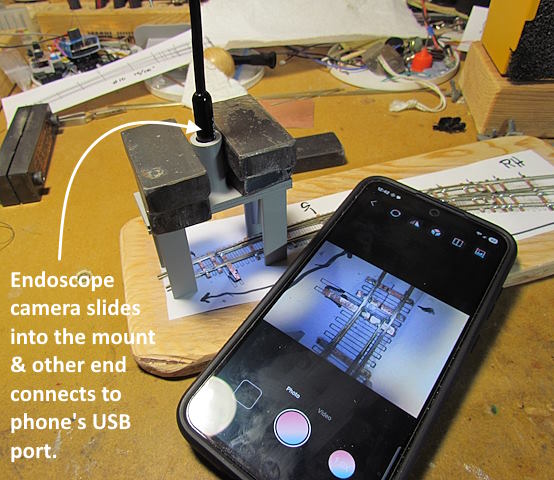
... on the workbench over a turnout that was about finished. As you can see the image on the phone from the camera is great. There is also a light as part of the camera and a thumb wheel on the cable controls the brightness of the light.
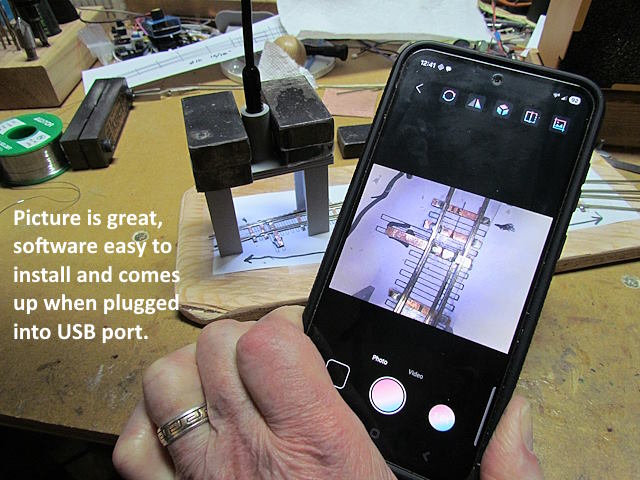
Once the software is installed (easy) the camera comes up as soon as the cable to it is plugged into the USB port.
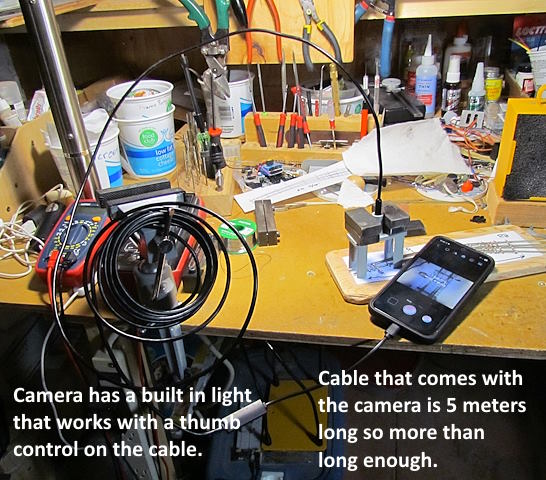
The cable is more than long enough (it can't be shortened). The camera slides into the mount and the other end of the cable plugs into the USB port.
Here is a short video of the camera in action
I believe this is going to work great for setting up the servos controlling turnouts on the upper level and that are far from the layout's edge. I can also see using the camera for some other work like seeing into tunnels and observing the train in other tight locations.
You can find the print files on my thingiverse.com account
( HERE ) .
Sumner


