Ok, ok, so at
@crrcoal 's urging, some updates.
It's done!
lol.
So what did I do?
First I used TinkerCAD to design bespoke "Hacked Unitrack" ends for the thing that reflected the 4 grouped tracks at 33m then a skipped one, then two more at 33mm.
I used splines under the two mainline tracks to keep them accurate and then left the rest "open" to allow me to use some foamcore under the whole thing to put the tracks right on the ground.
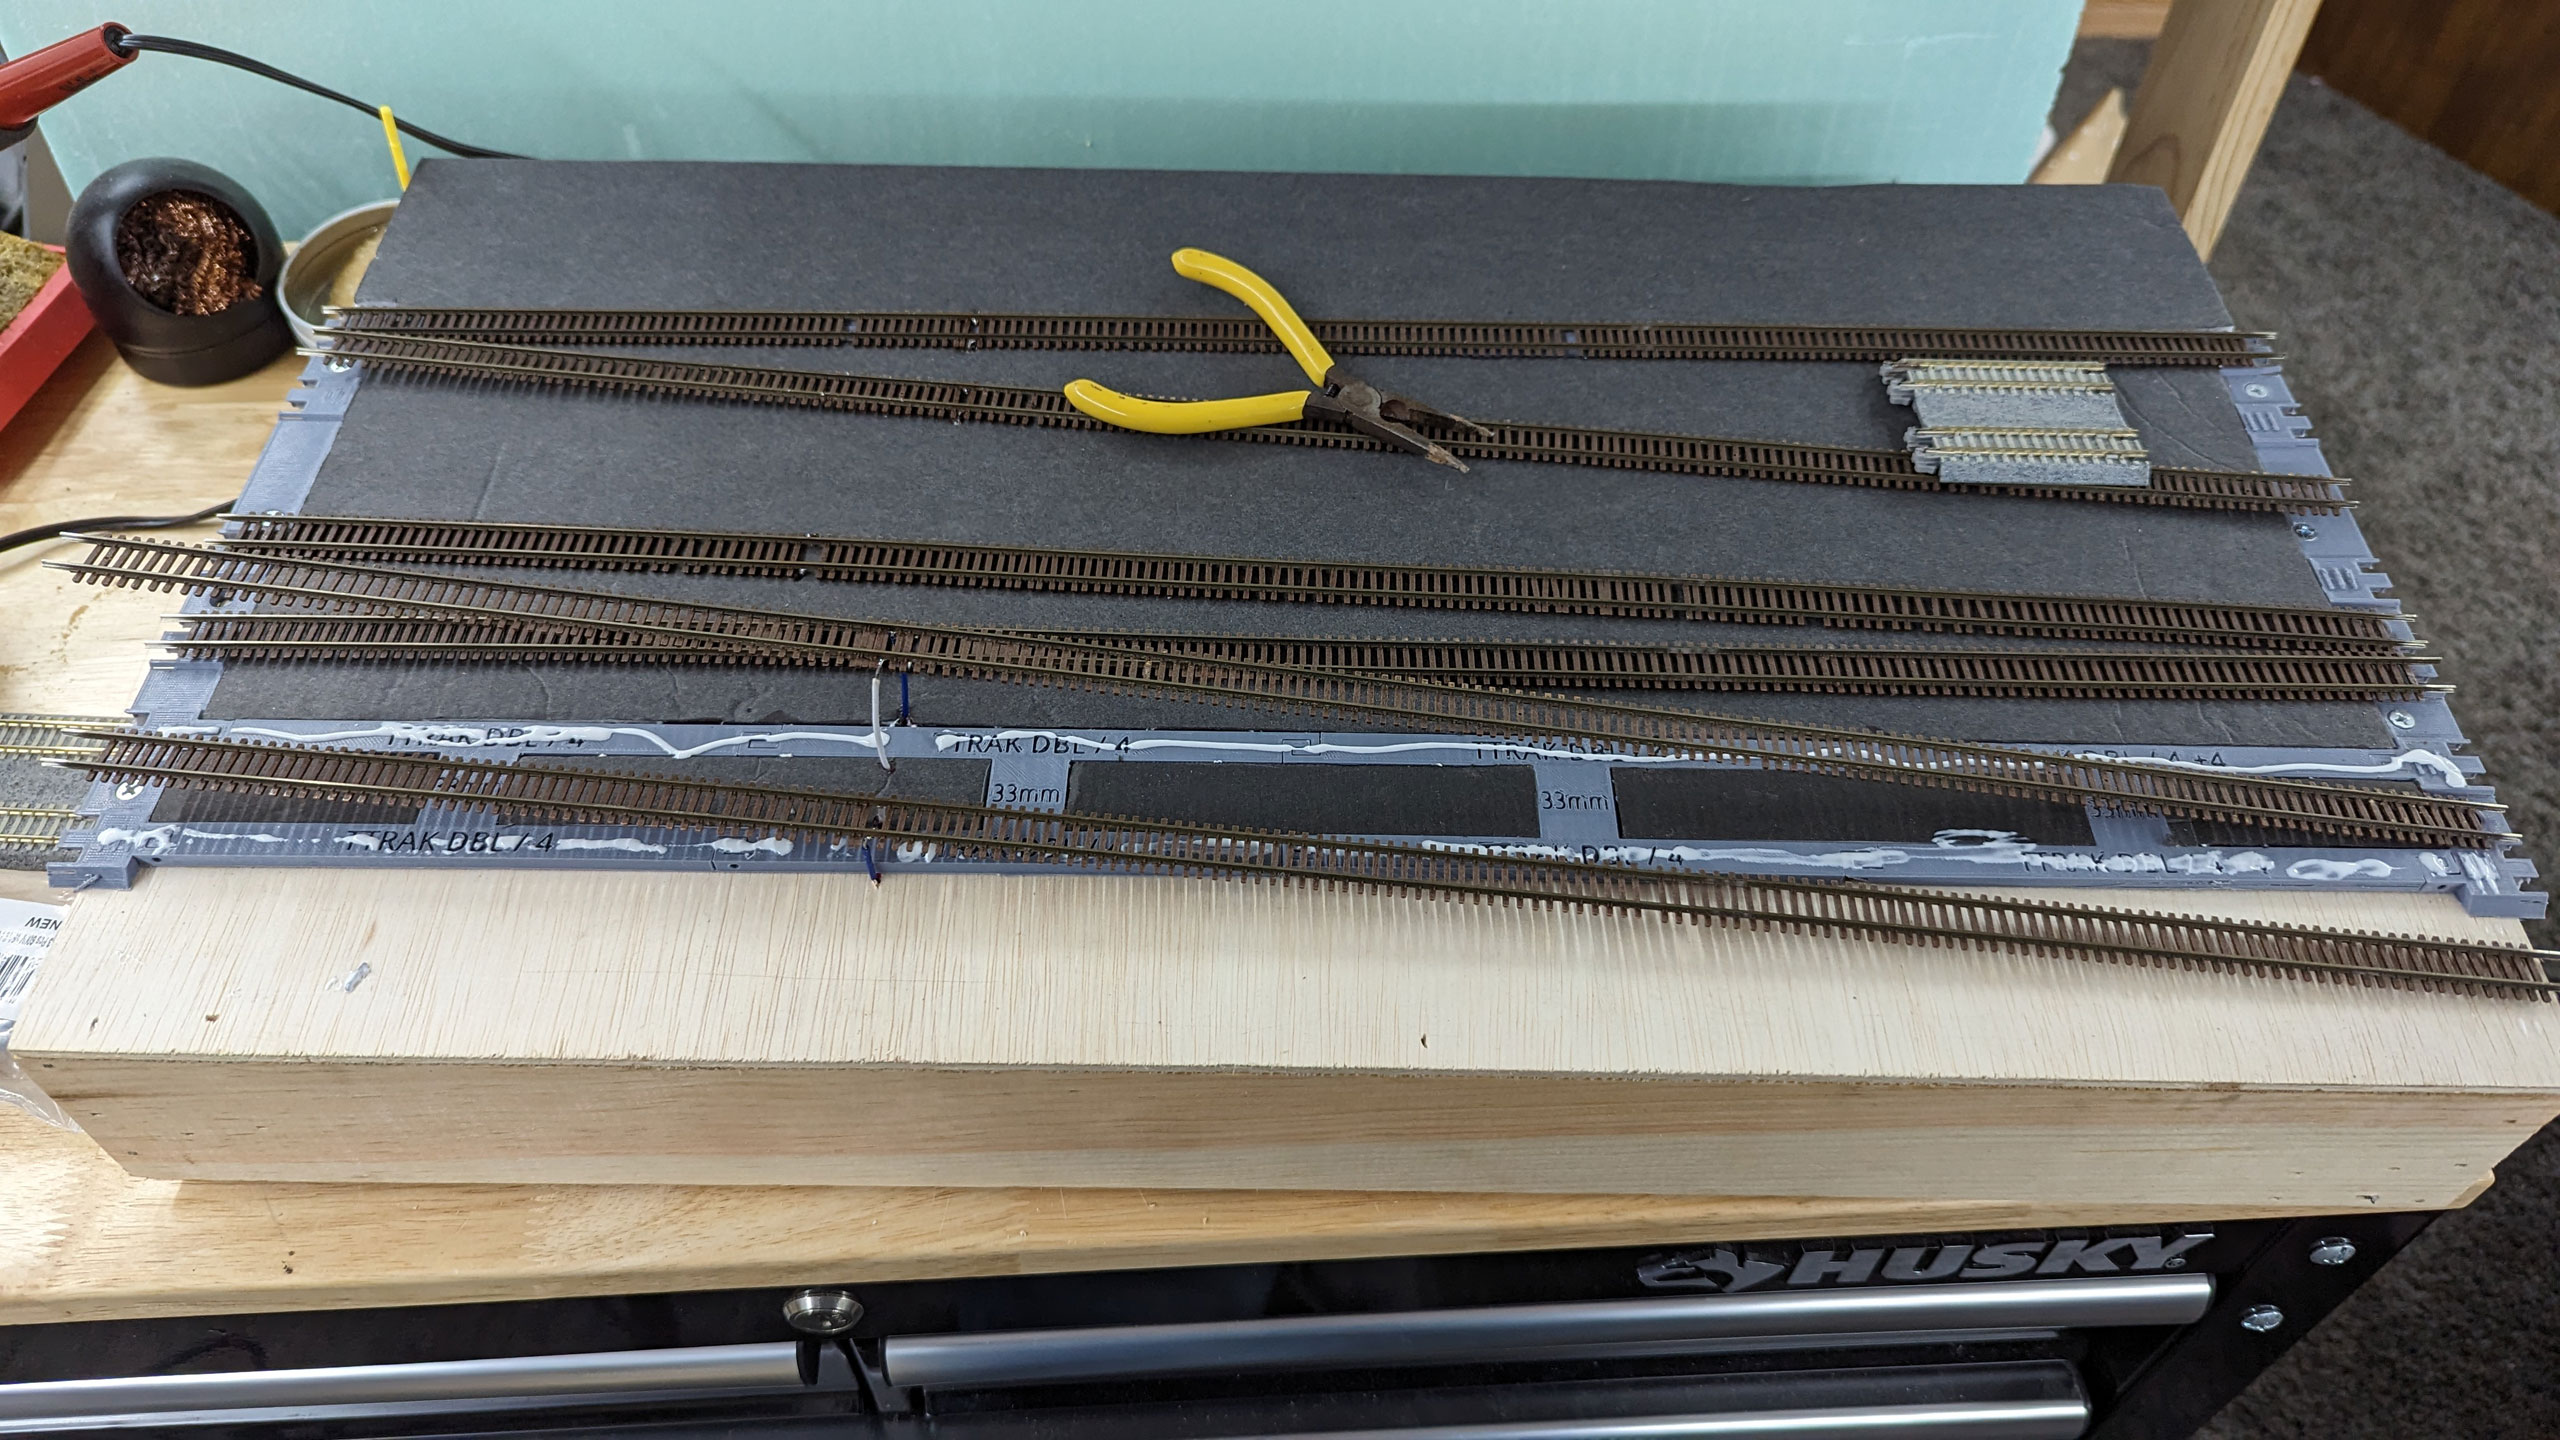
Of course, because I was using up my cursed stash of Micro-Engineering weathered Code 70 flex the track required a bunch of prep work: I used a wire wheel in a Dremel to remove the weathering from the ends and where I was adding feeders. I then used a cutoff disk to taper the rail ends to slide into Unijoiners more easily.
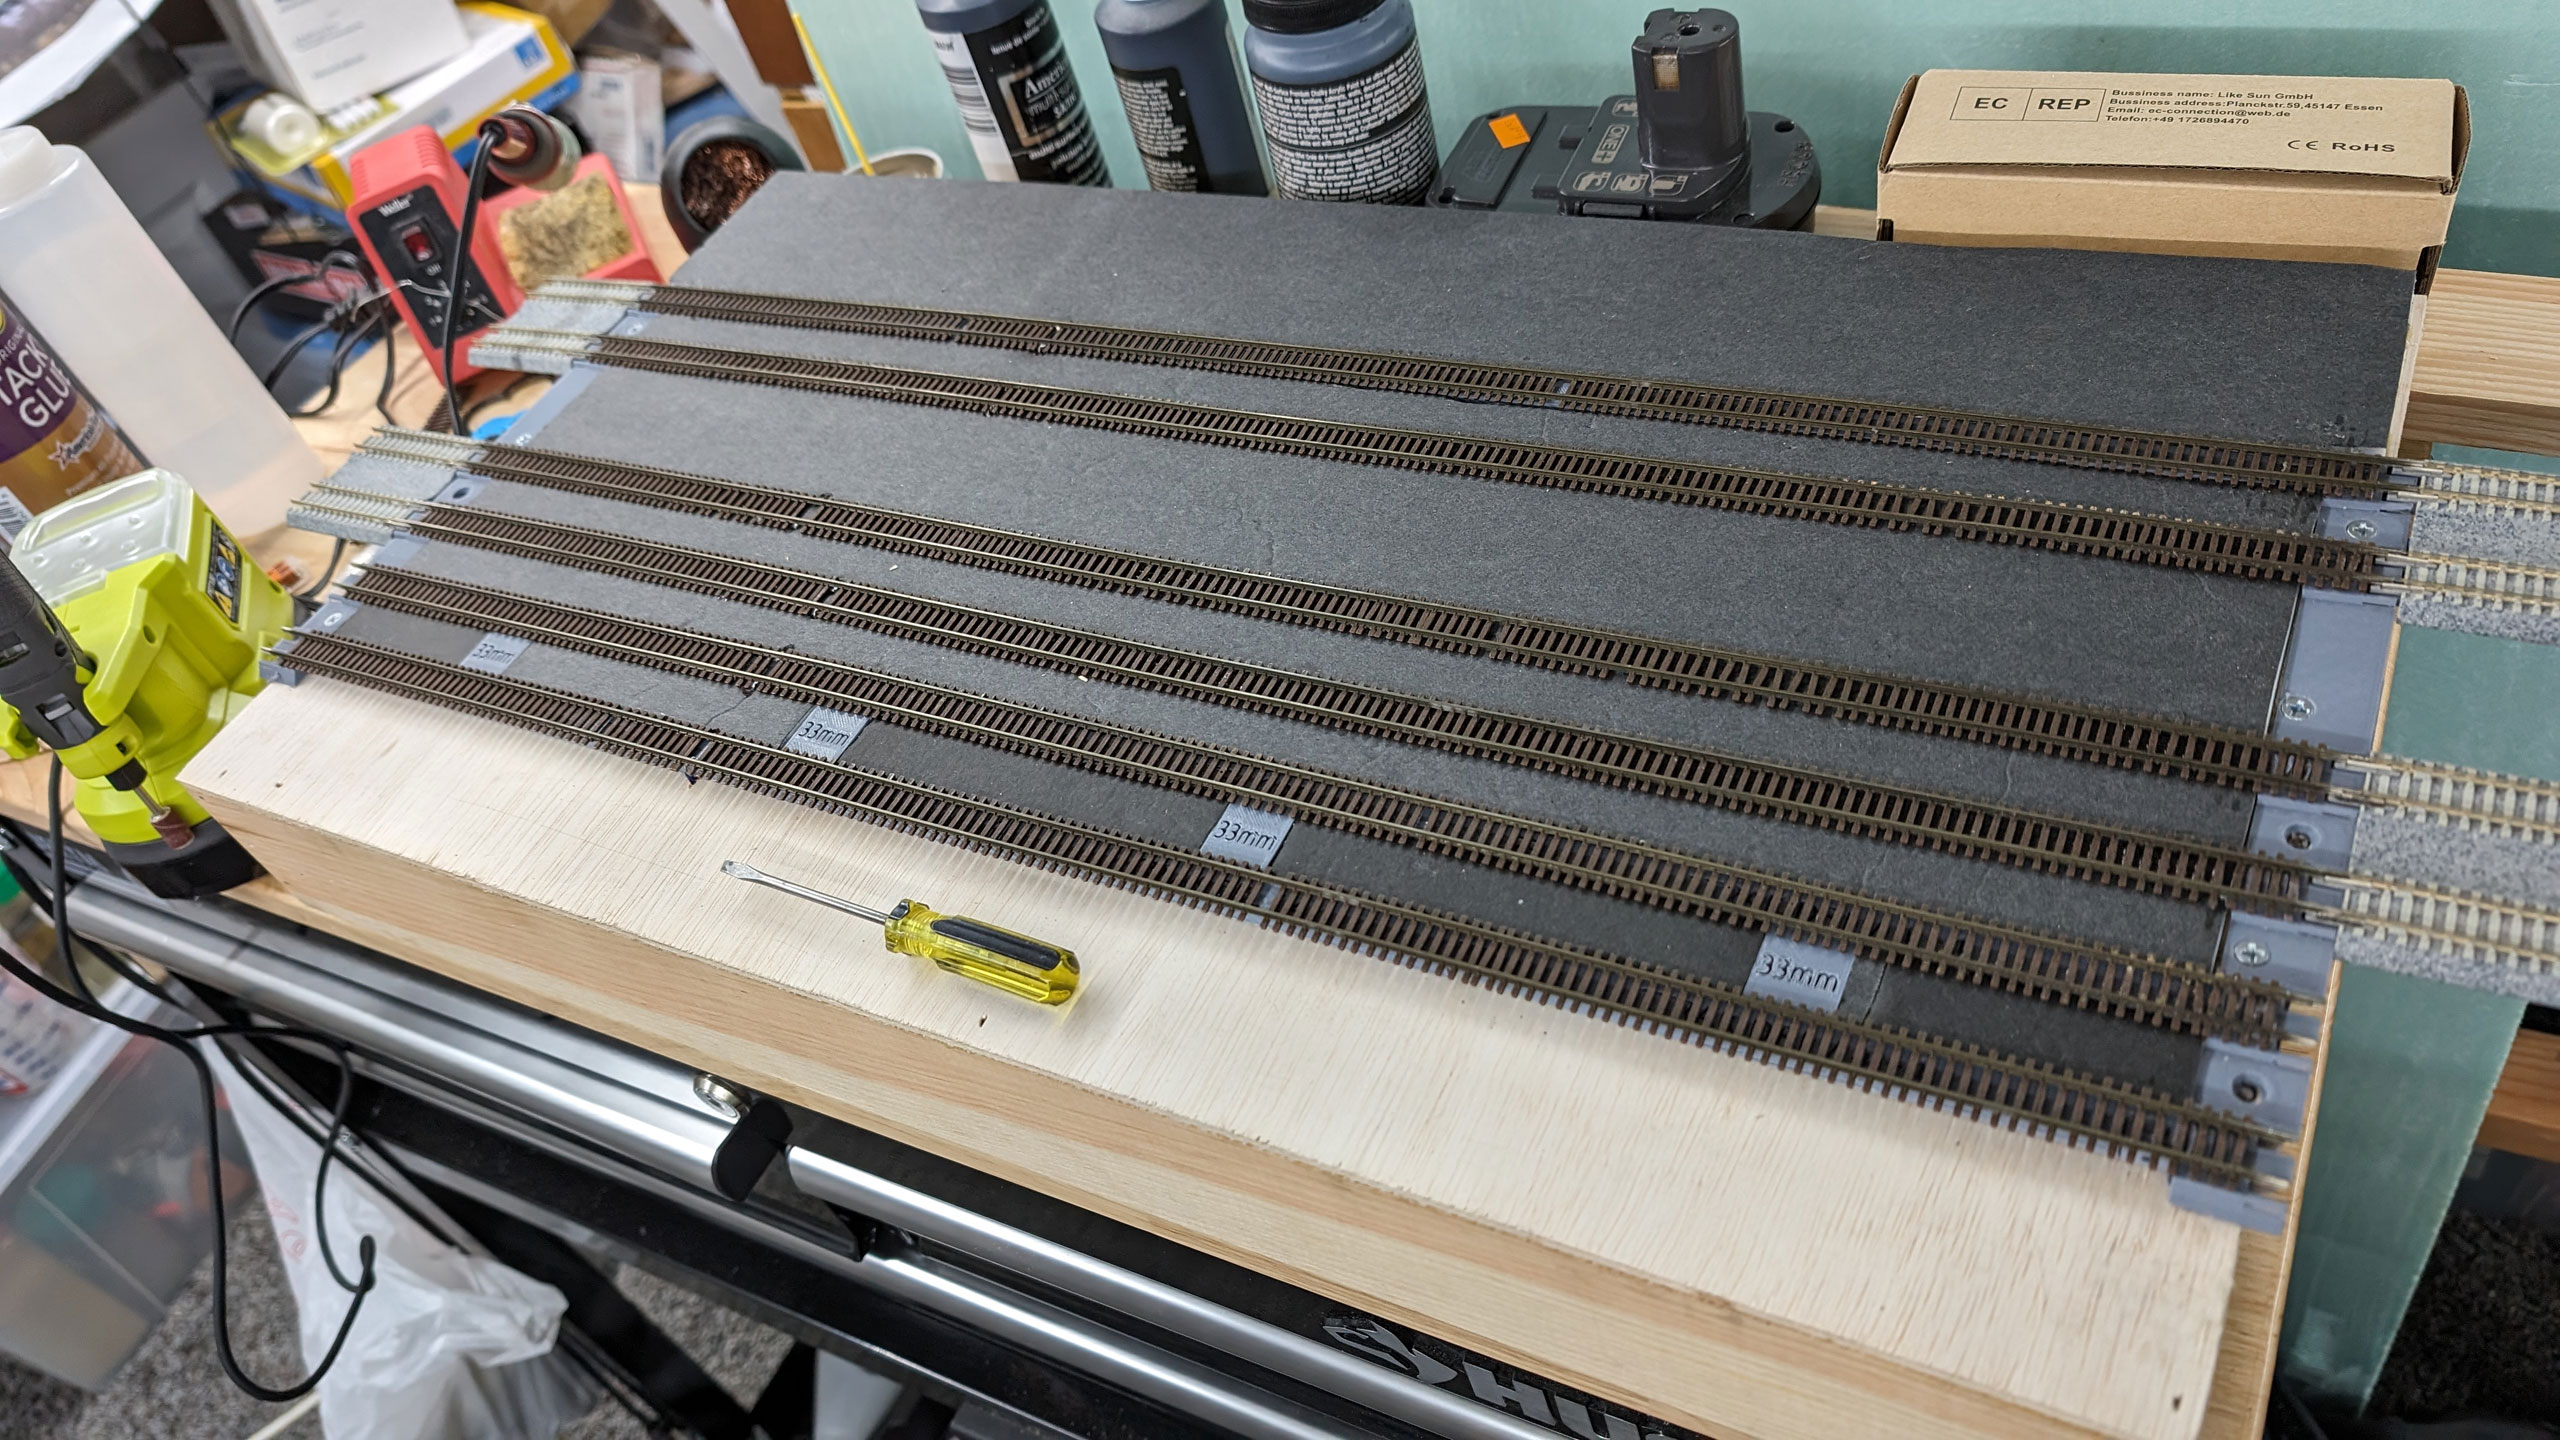
After gluing all the track down with Aileen's Tacky Glue I used a bunch of my grout leftover from layout to ballast the tracks.
Then it was onto the building and servicing facility. The building is a Rix "The Shops" kit. I
thought I had done a good job of lining everything up but after painting it gray (to match the Pavonia shops) I noticed that some of the wall panels weren't perfect. Oh well.
And speaking of "not a perfect fit", I also intended to install a Walthers sanding tower. I spent a couple evenings building it (damn is it a fiddly kit) and then...
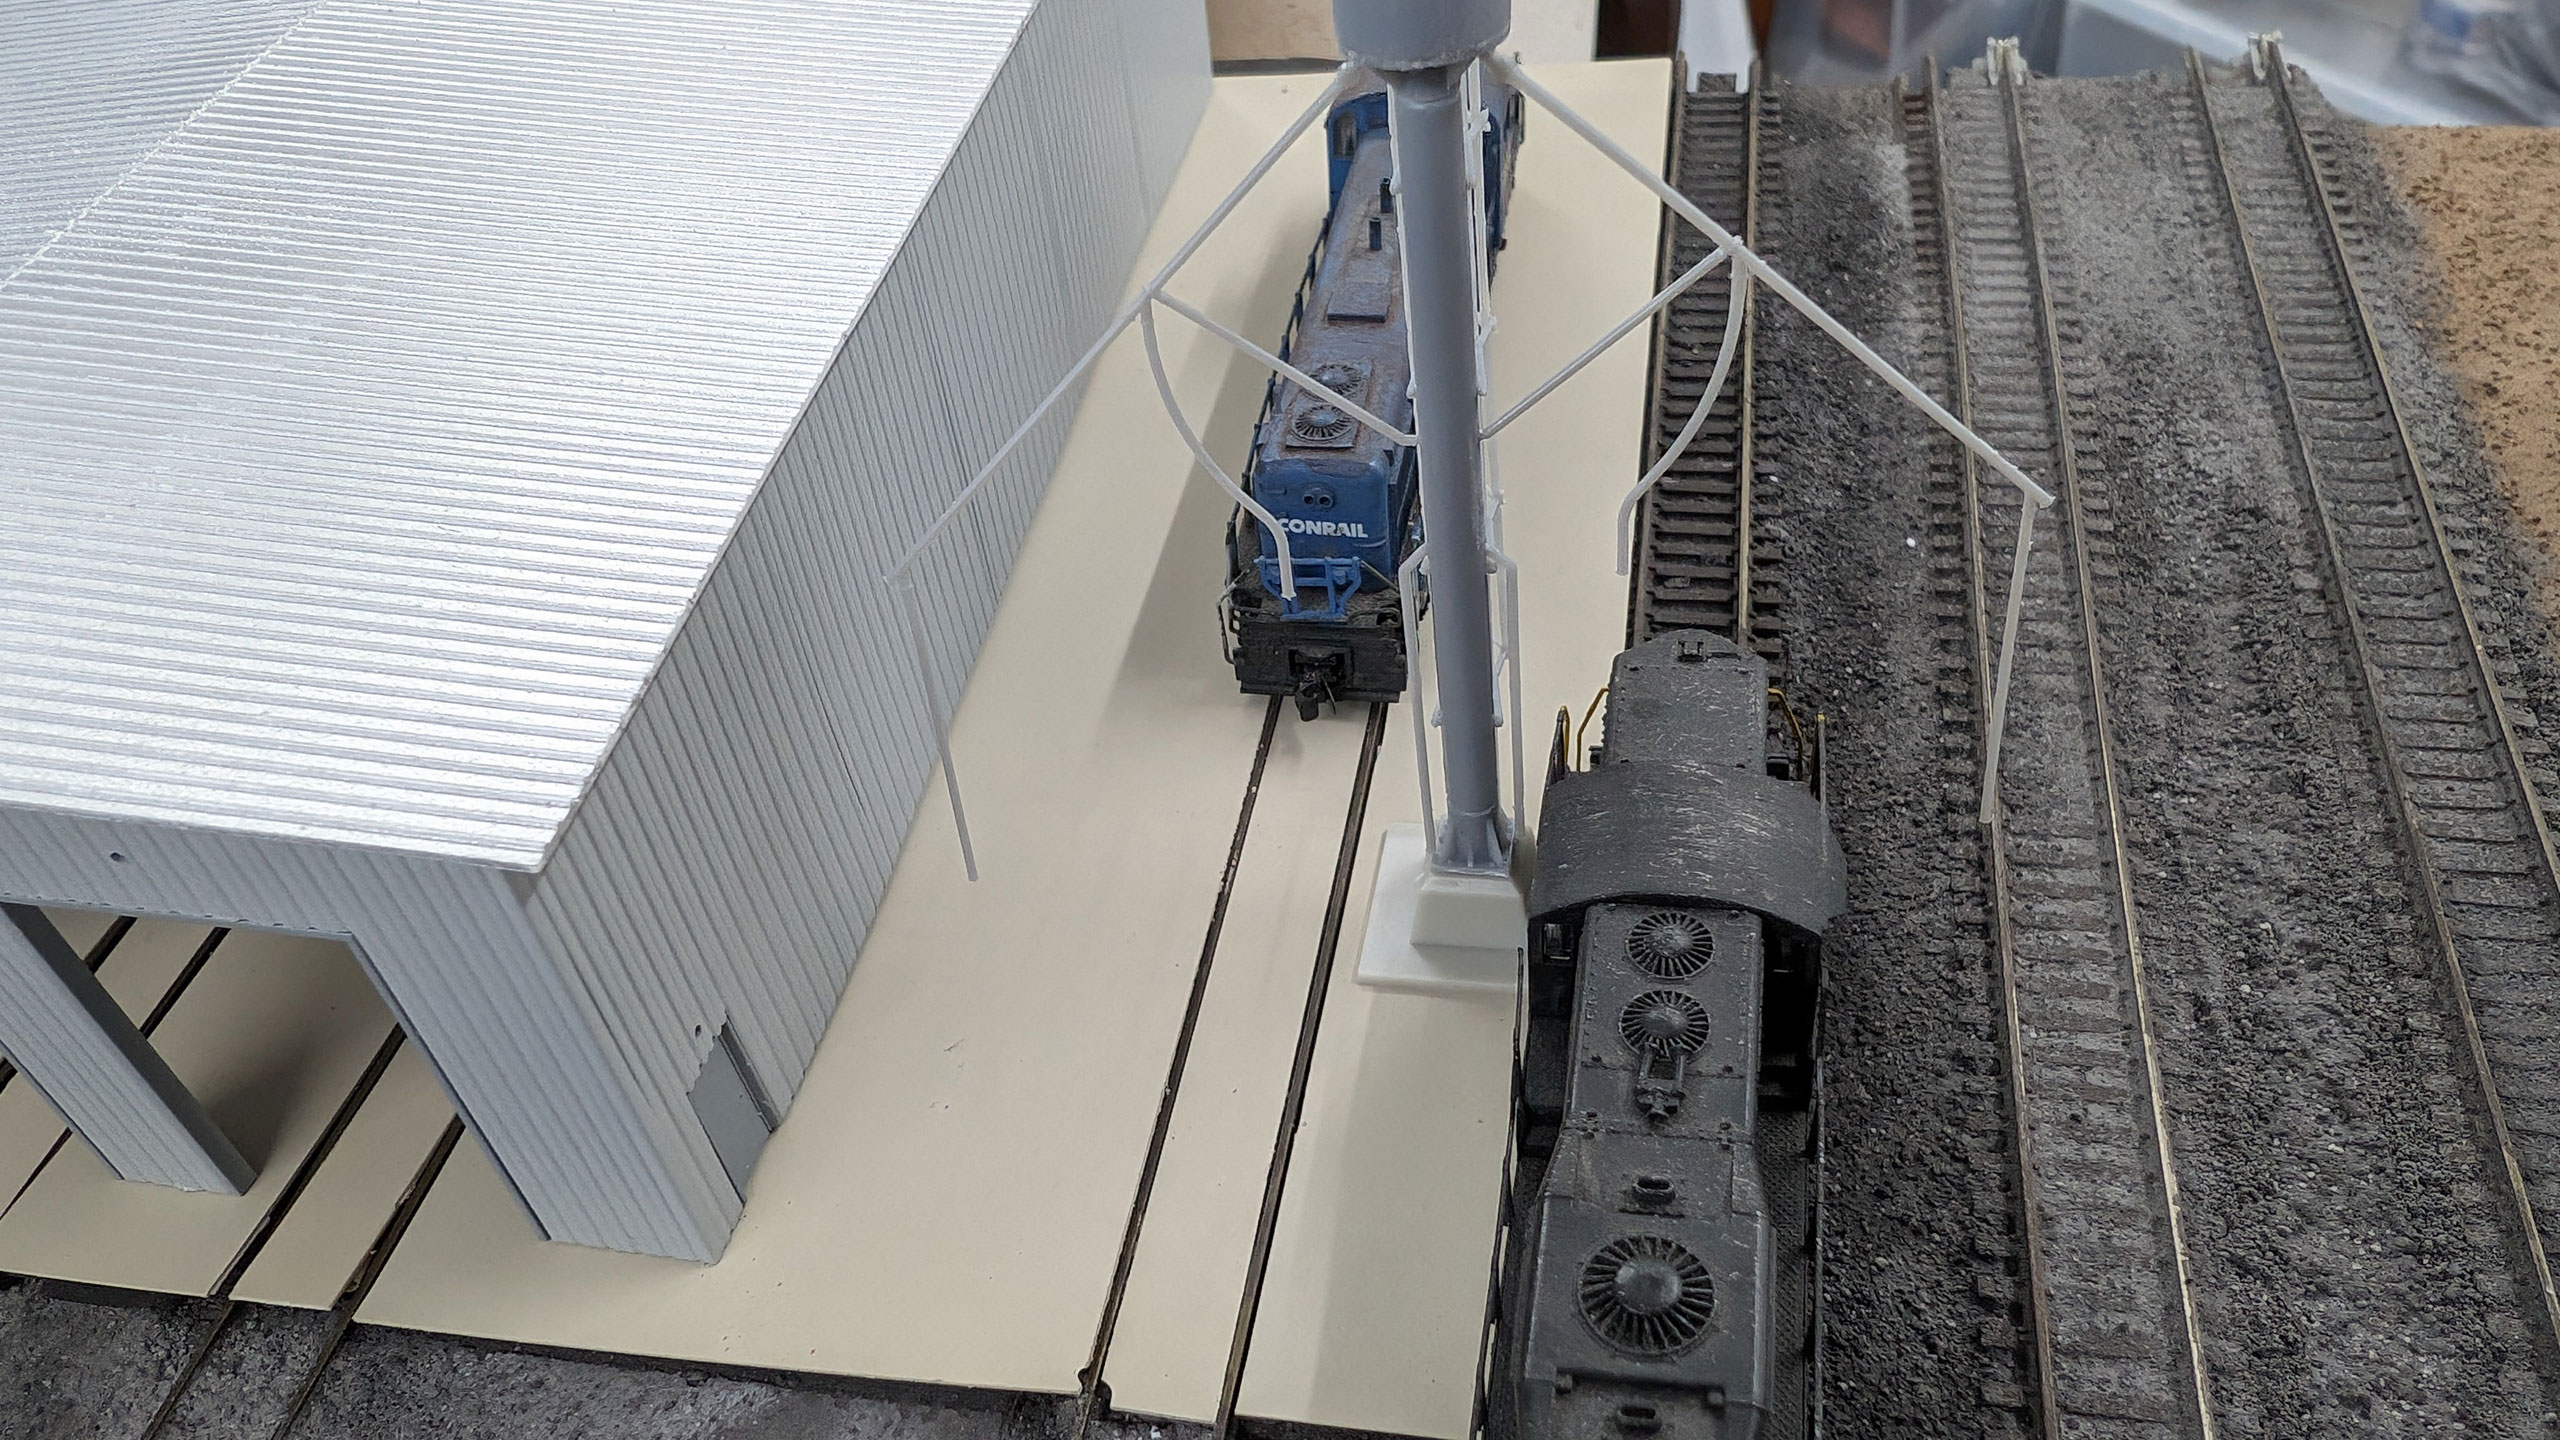
Yep. Turns out Kato and Walthers apparently did NOT talk when they designed this kit.
The whole scene definitely looked "lacking" something, so I added a roof from the junk box (I think it came from an ancient freight house kit) to the wall of the engine house. I also added some Atlas lights above the doors. I plan on lighting the thing eventually.
I also weathered it (maybe a bit too much) with some Panpastels. Believe it or not I think this was my first time doing this on a structure.
Even after the roof and weathering, it STILL looked naked. Luckily, one of the vendors at the Altoona N Scale Weekend had a ton of 3D printed details like workbenches and shelves in a "fill up a bag" sale. Well, an evening of painting later yielded a bunch of neat "junk".
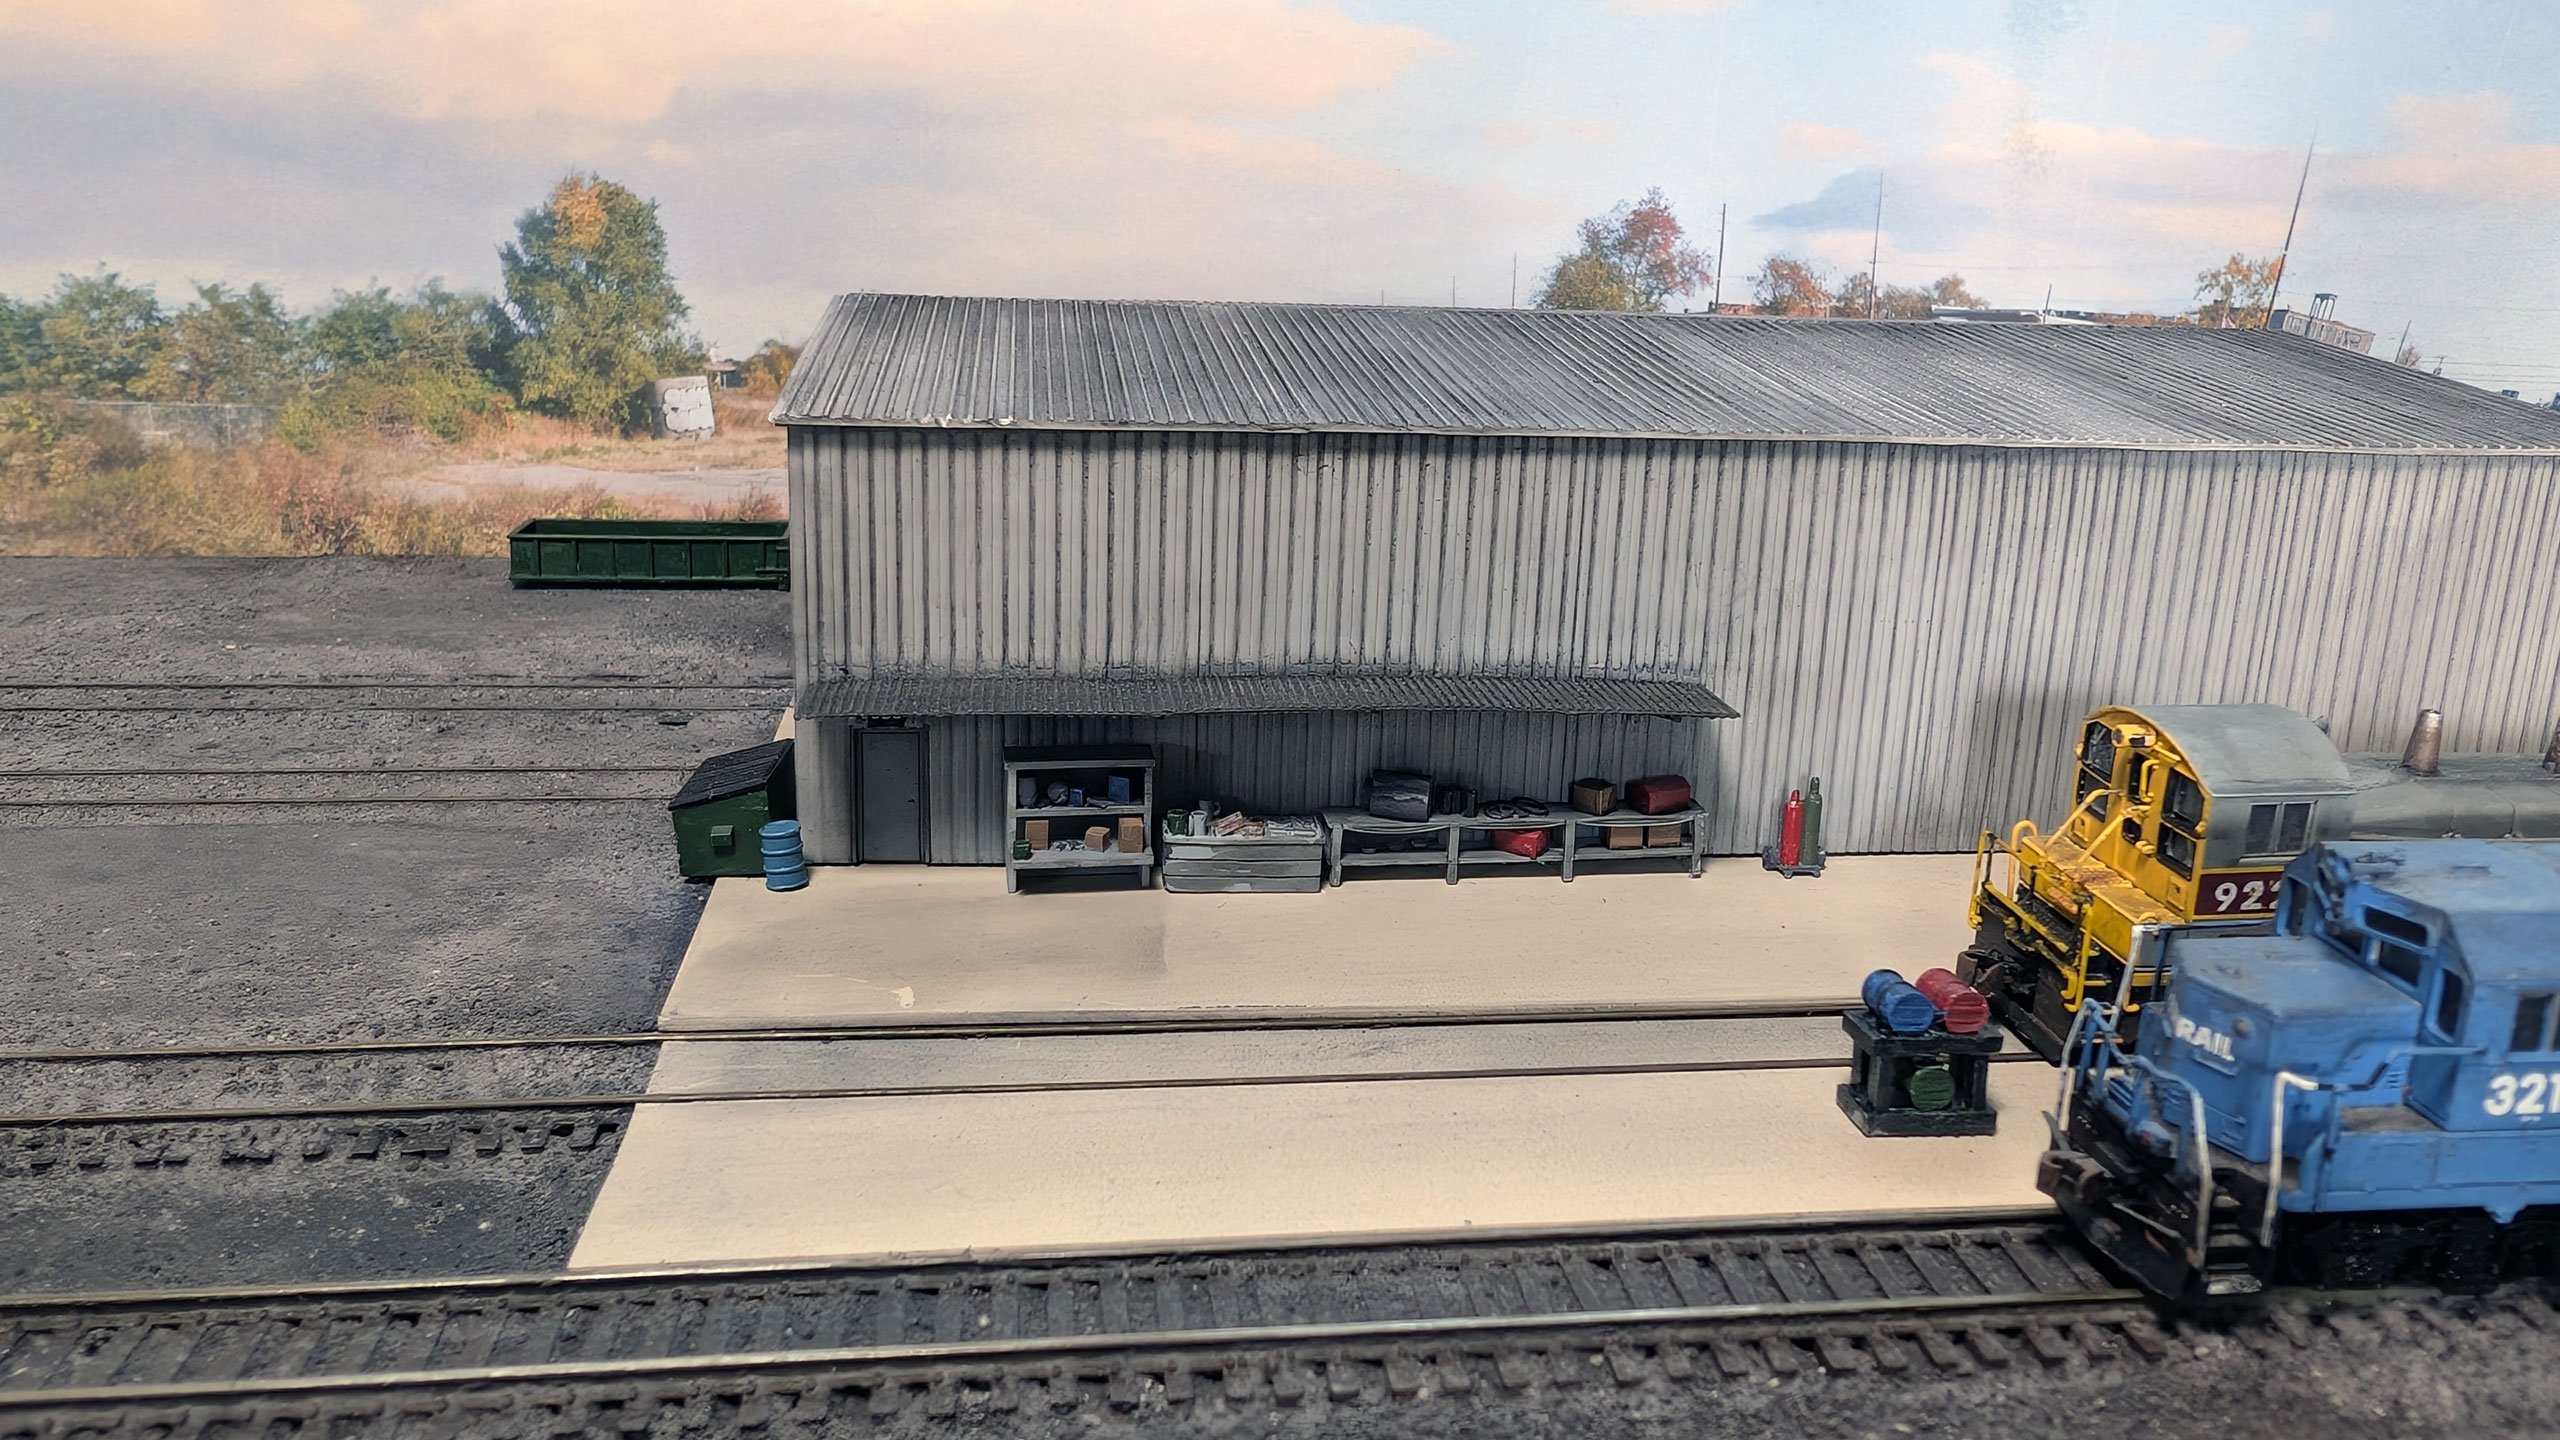
Of course, since the thing is intended to be a photo diorama, I needed a great backdrop. Nothing is better than the real thing so I used Google Streetview to find a scene I could use from the real Pavonia Yard.
This spot fit the bill:
https://www.google.com/maps/@39.9448267,-75.1034943,3a,75y,277.76h,90.19t/data=!3m7!1e1!3m5!1s53VyMEEWinlvogE_Uv2-9Q!2e0!6shttps:%2F%2Fstreetviewpixels-pa.googleapis.com%2Fv1%2Fthumbnail%3Fcb_client%3Dmaps_sv.tactile%26w%3D900%26h%3D600%26pitch%3D-0.18726551050993123%26panoid%3D53VyMEEWinlvogE_Uv2-9Q%26yaw%3D277.7597435351303!7i16384!8i8192?entry=ttu&g_ep=EgoyMDI0MTIxMS4wIKXMDSoASAFQAw%3D%3DI used Street View Download 360 (
https://svd360.com/) to get me a nice big image from the spot and 30 years of Photoshop experience to turn it into something I could print at the appropriate size. The large print was laminated to some vinyl flashing (
https://www.homedepot.com/p/DuraFlash-14-in-x-30-ft-White-Roll-Stock-Vinyl-Flashing-143018W/100386657) using 3M Super 77. I cut a masonite backdrop that I used to provide some rigidity in the back. I rely on the natural flexibility of the vinyl to handle the wrap around the edges. It's thin enough that it can fit between modules in a setup or just float behind them if it won't.
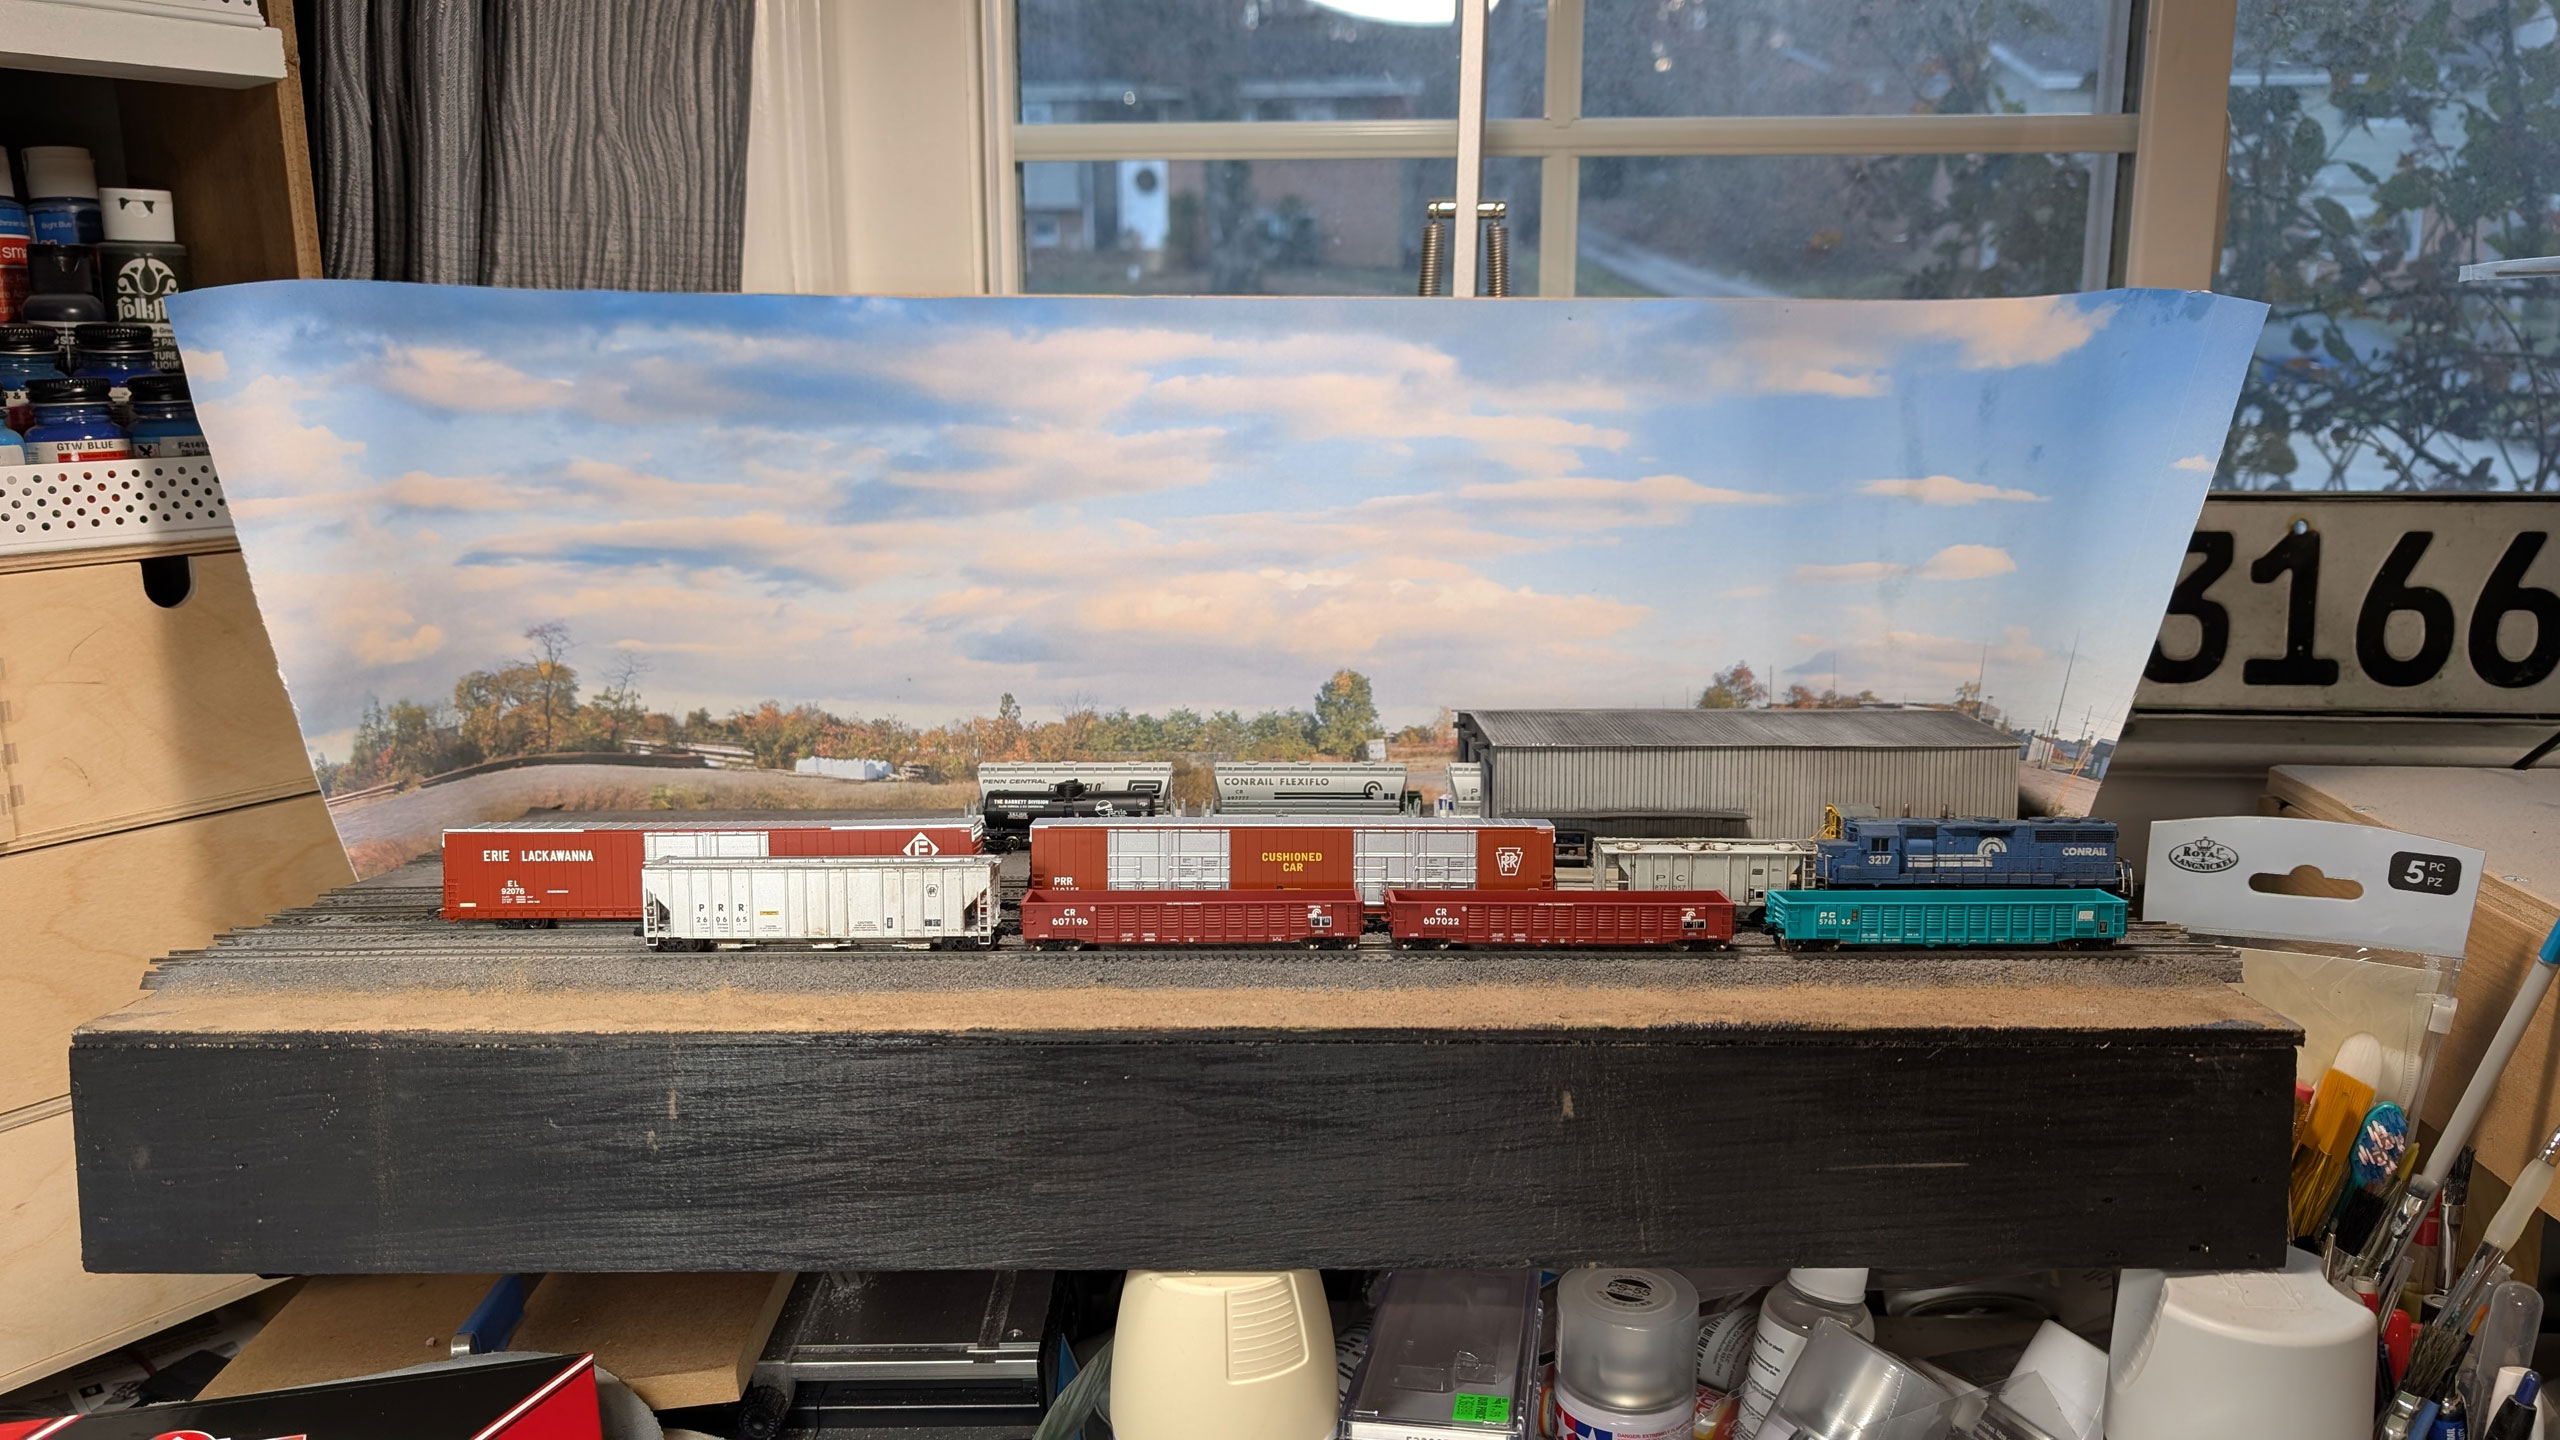
It lives propped up on my workbench so it's ready for use doing what it was designed for: being a "prop" for in-progress photos of various projects.
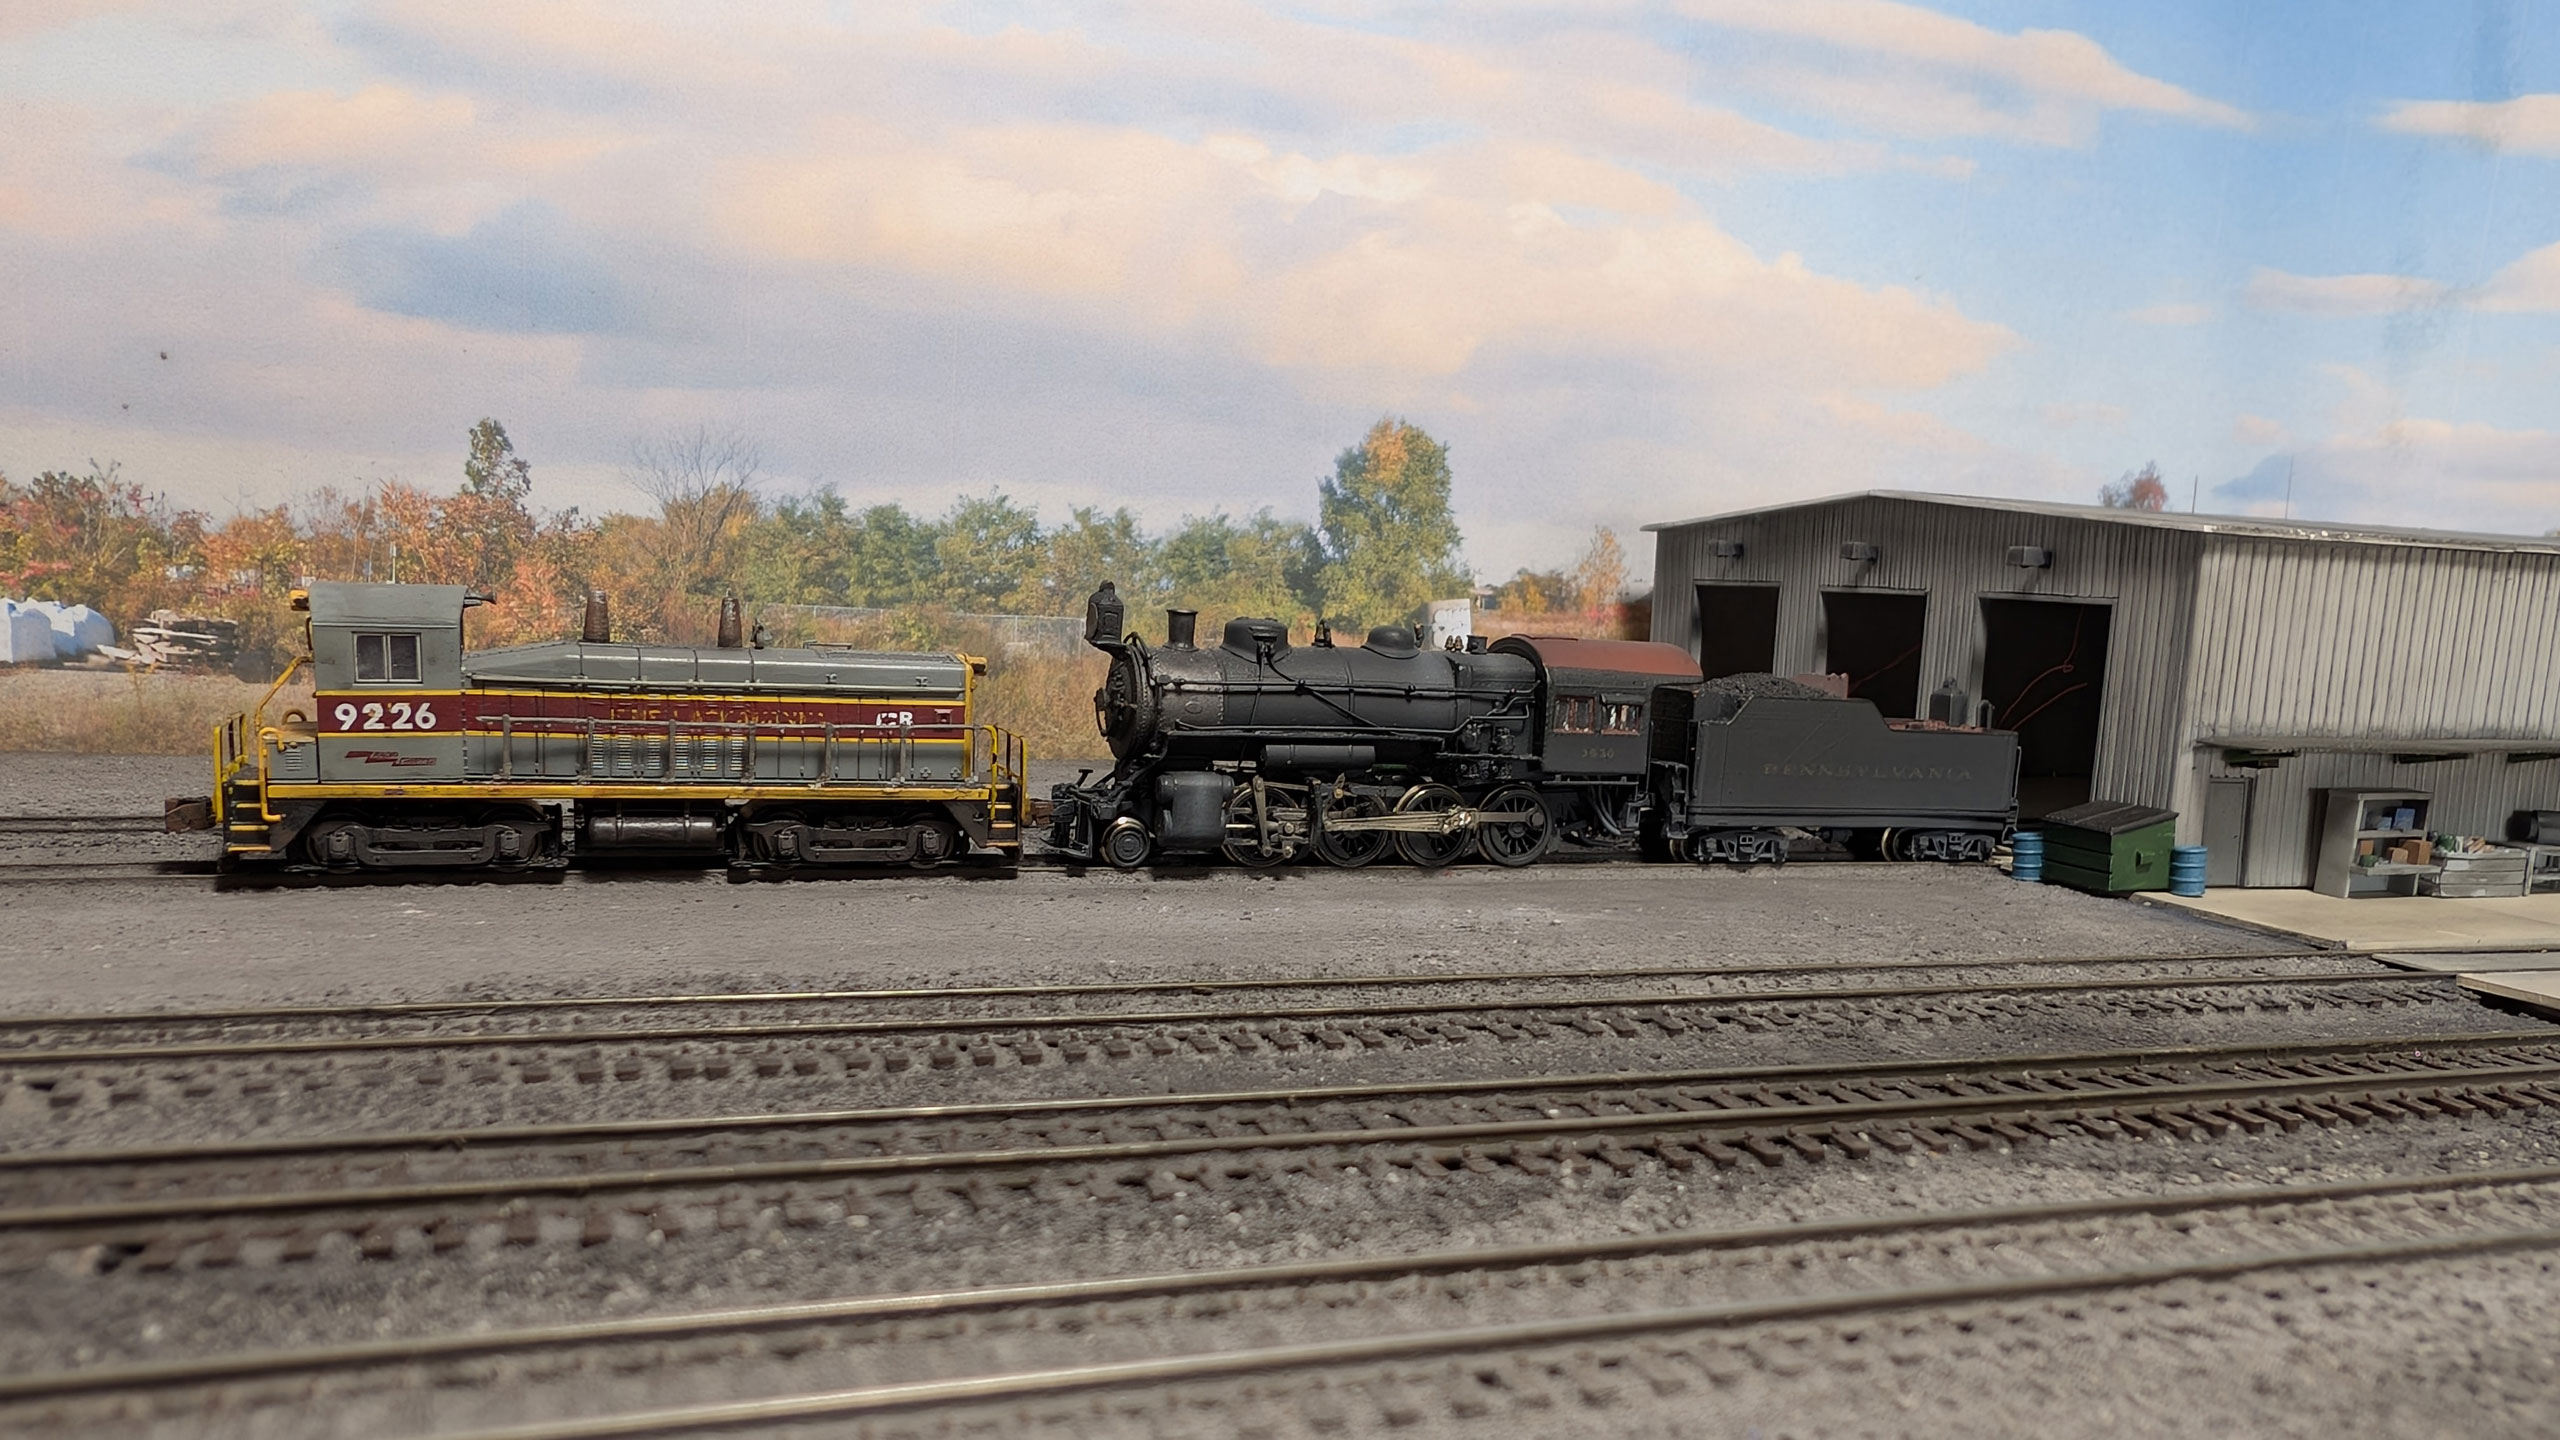
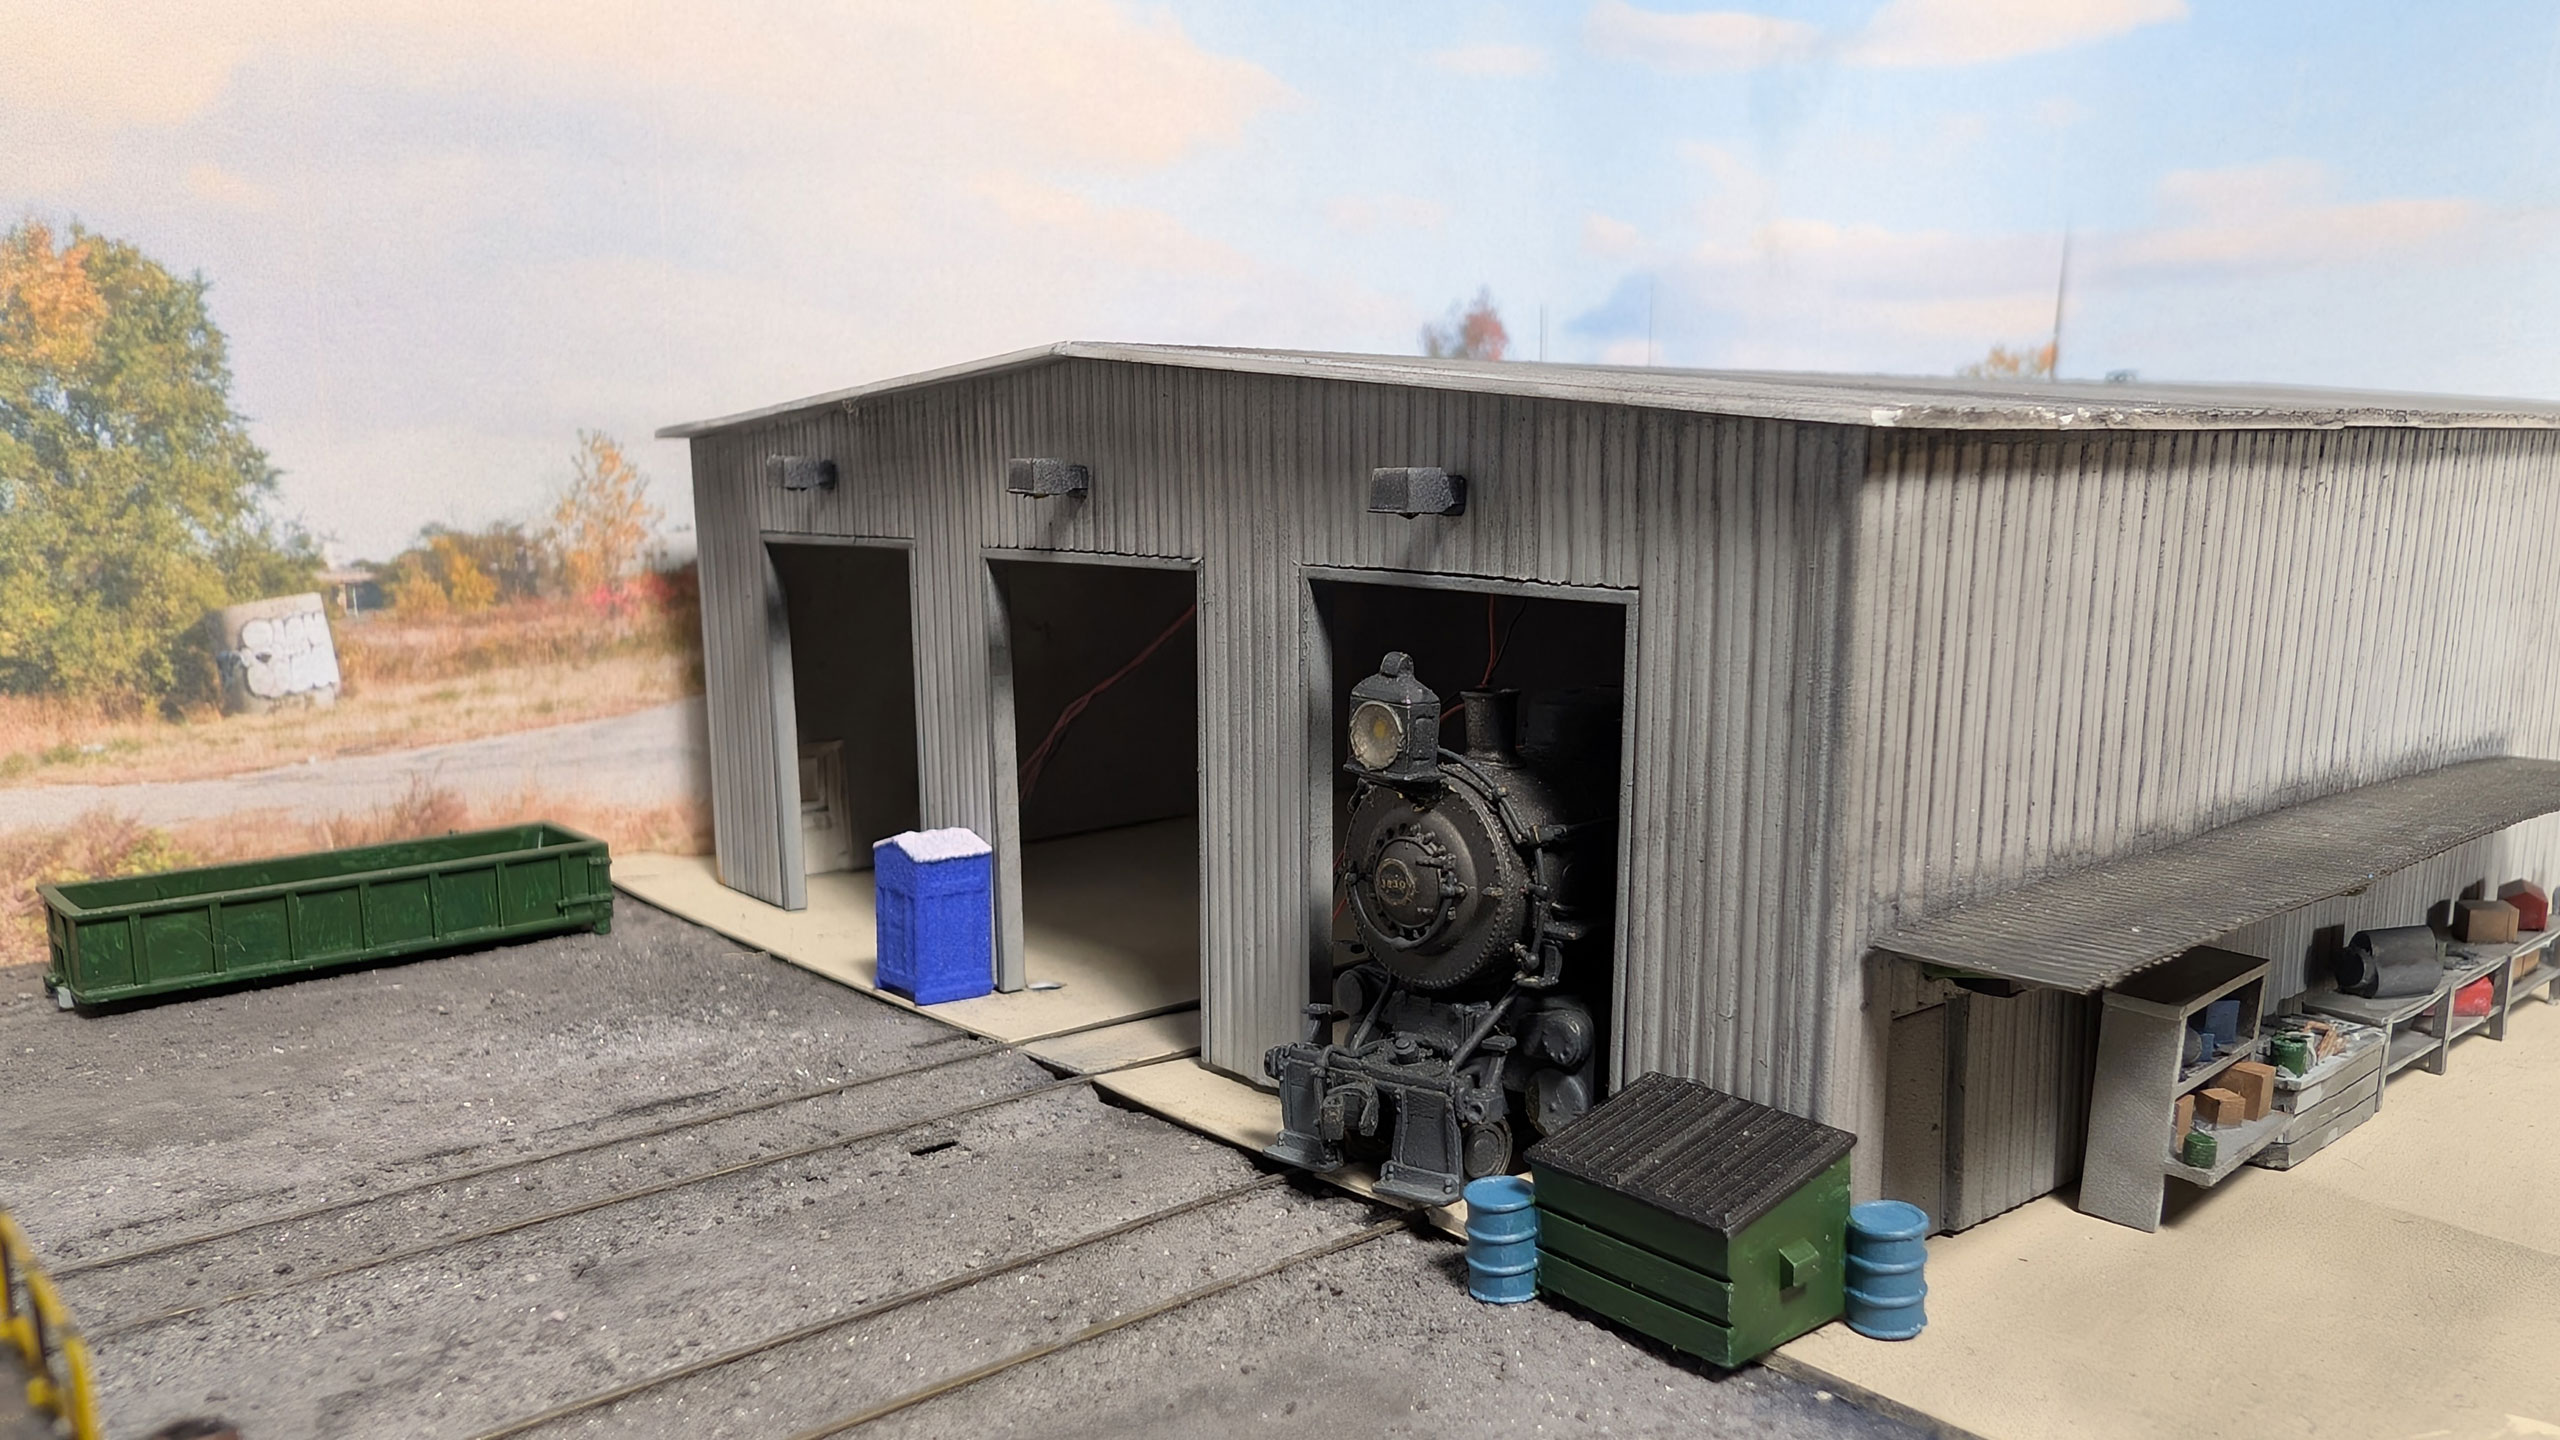
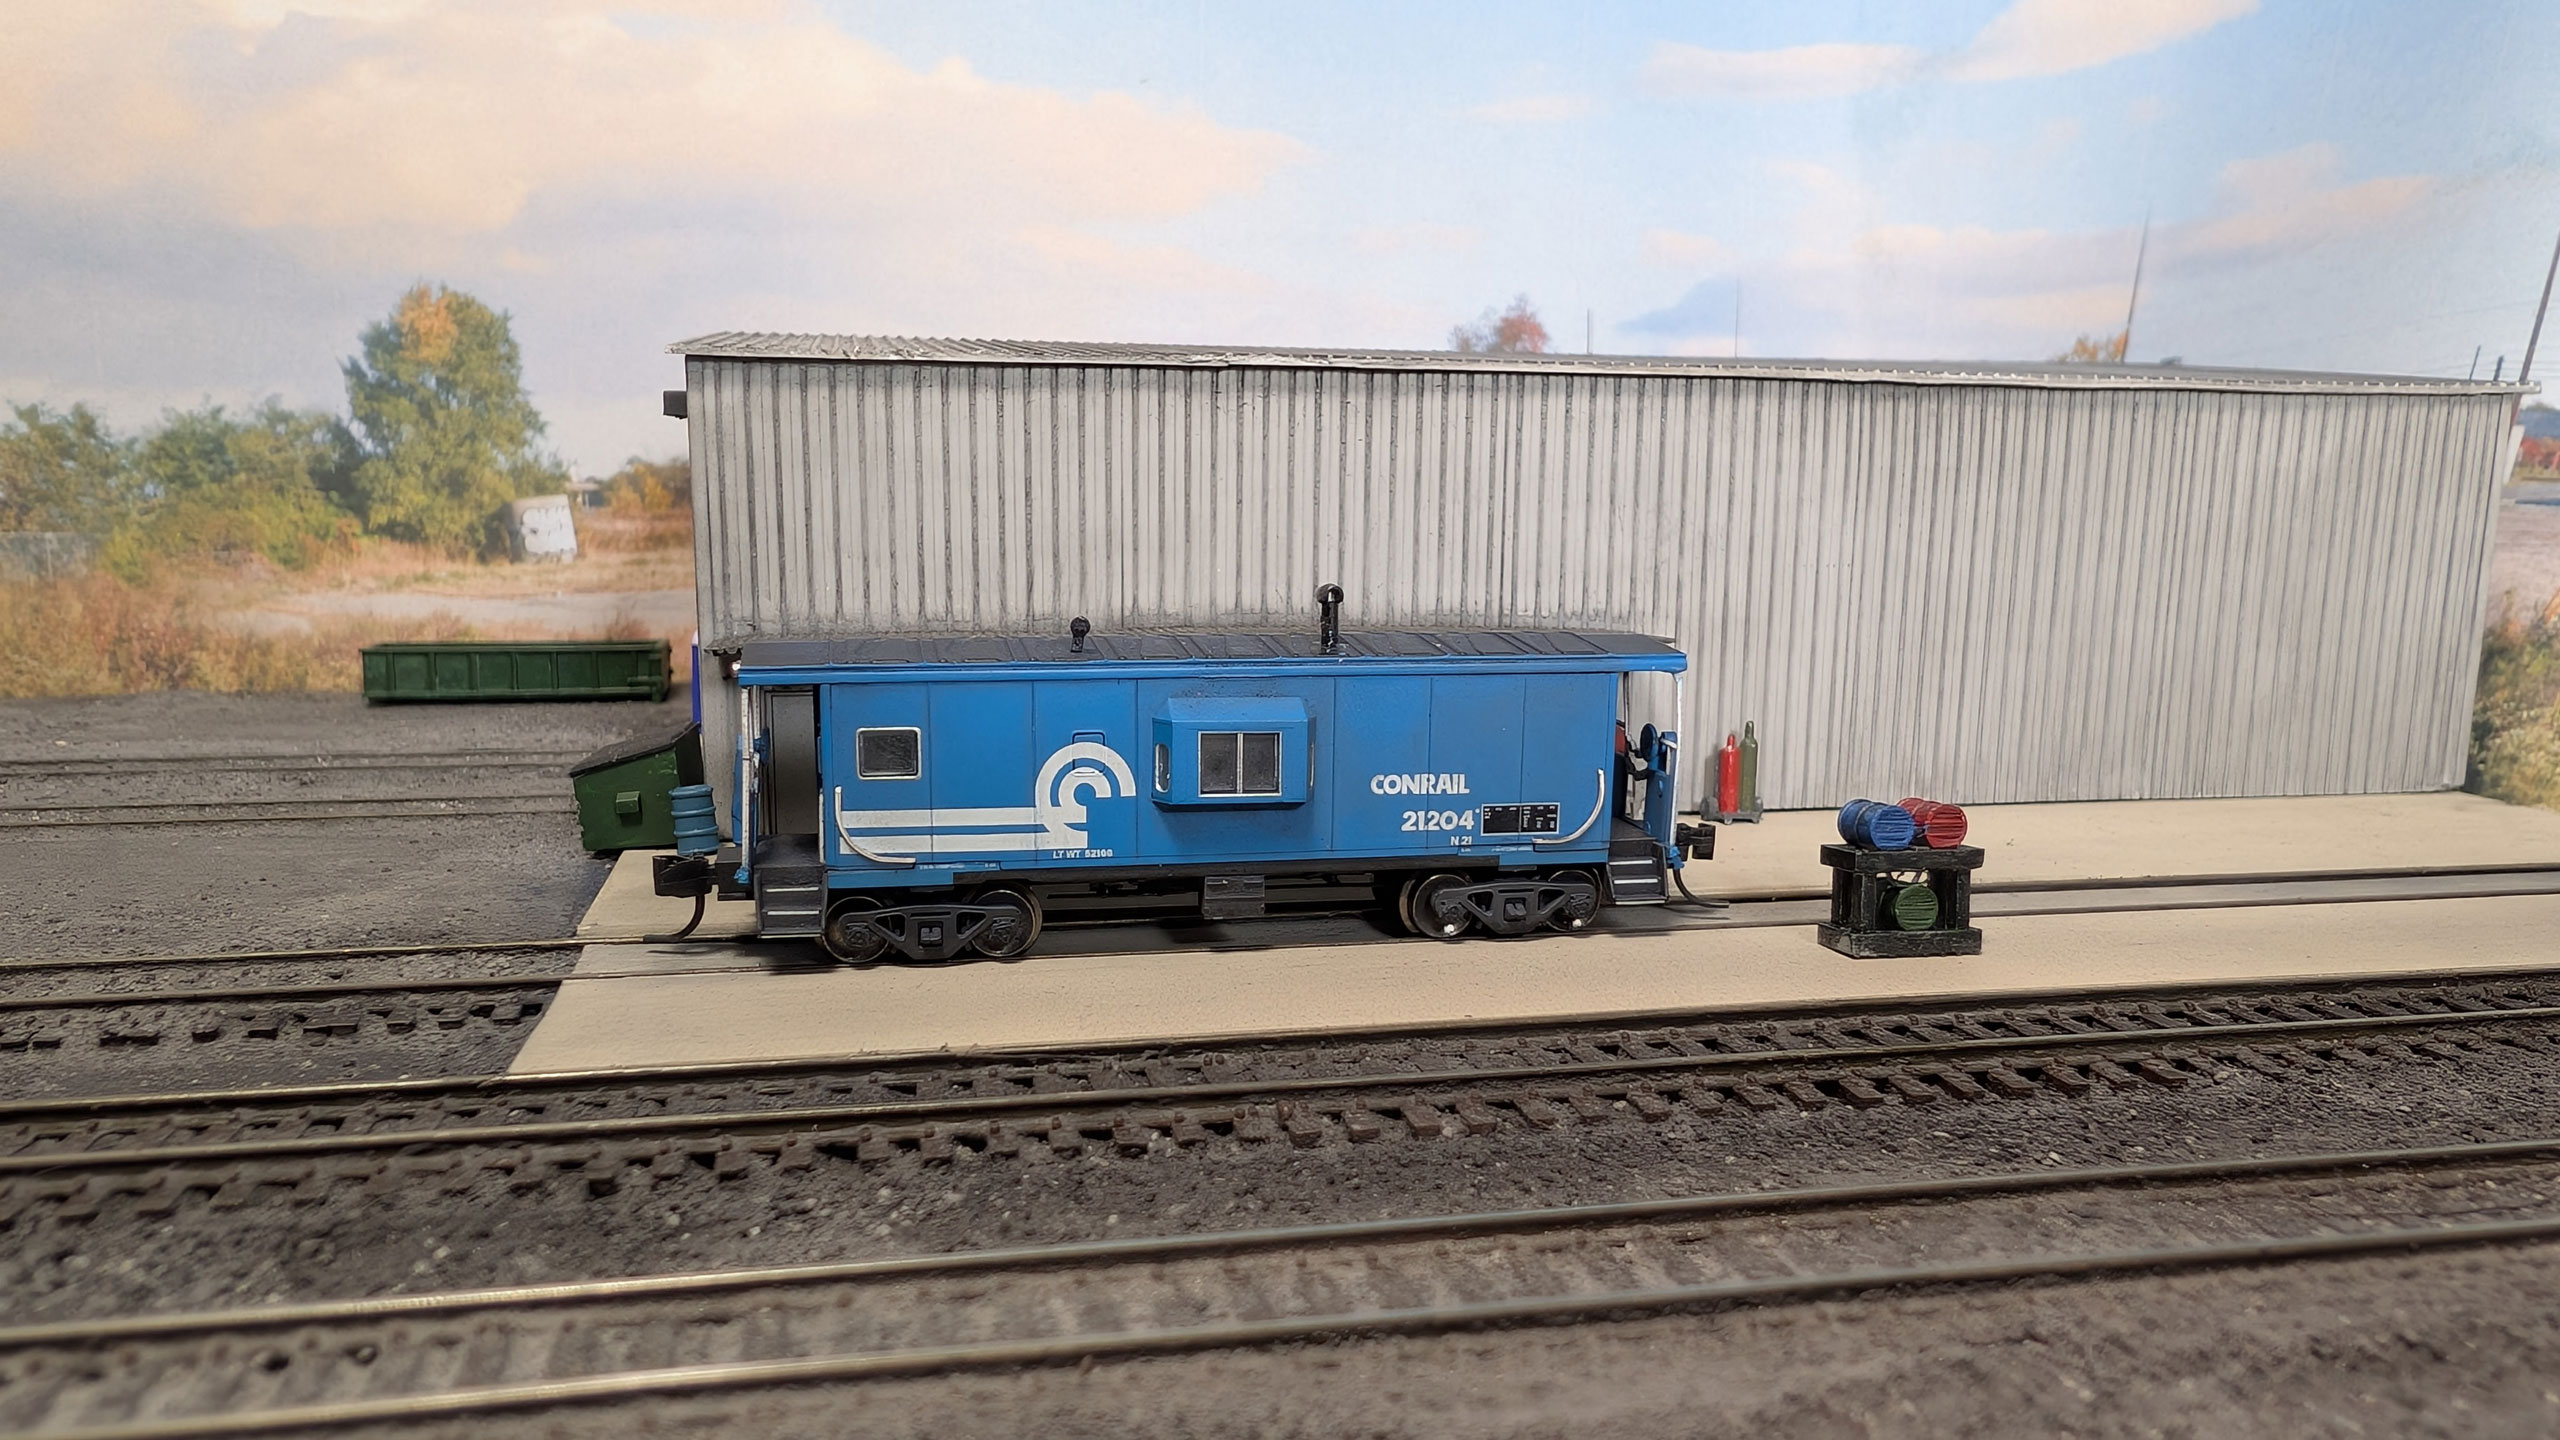
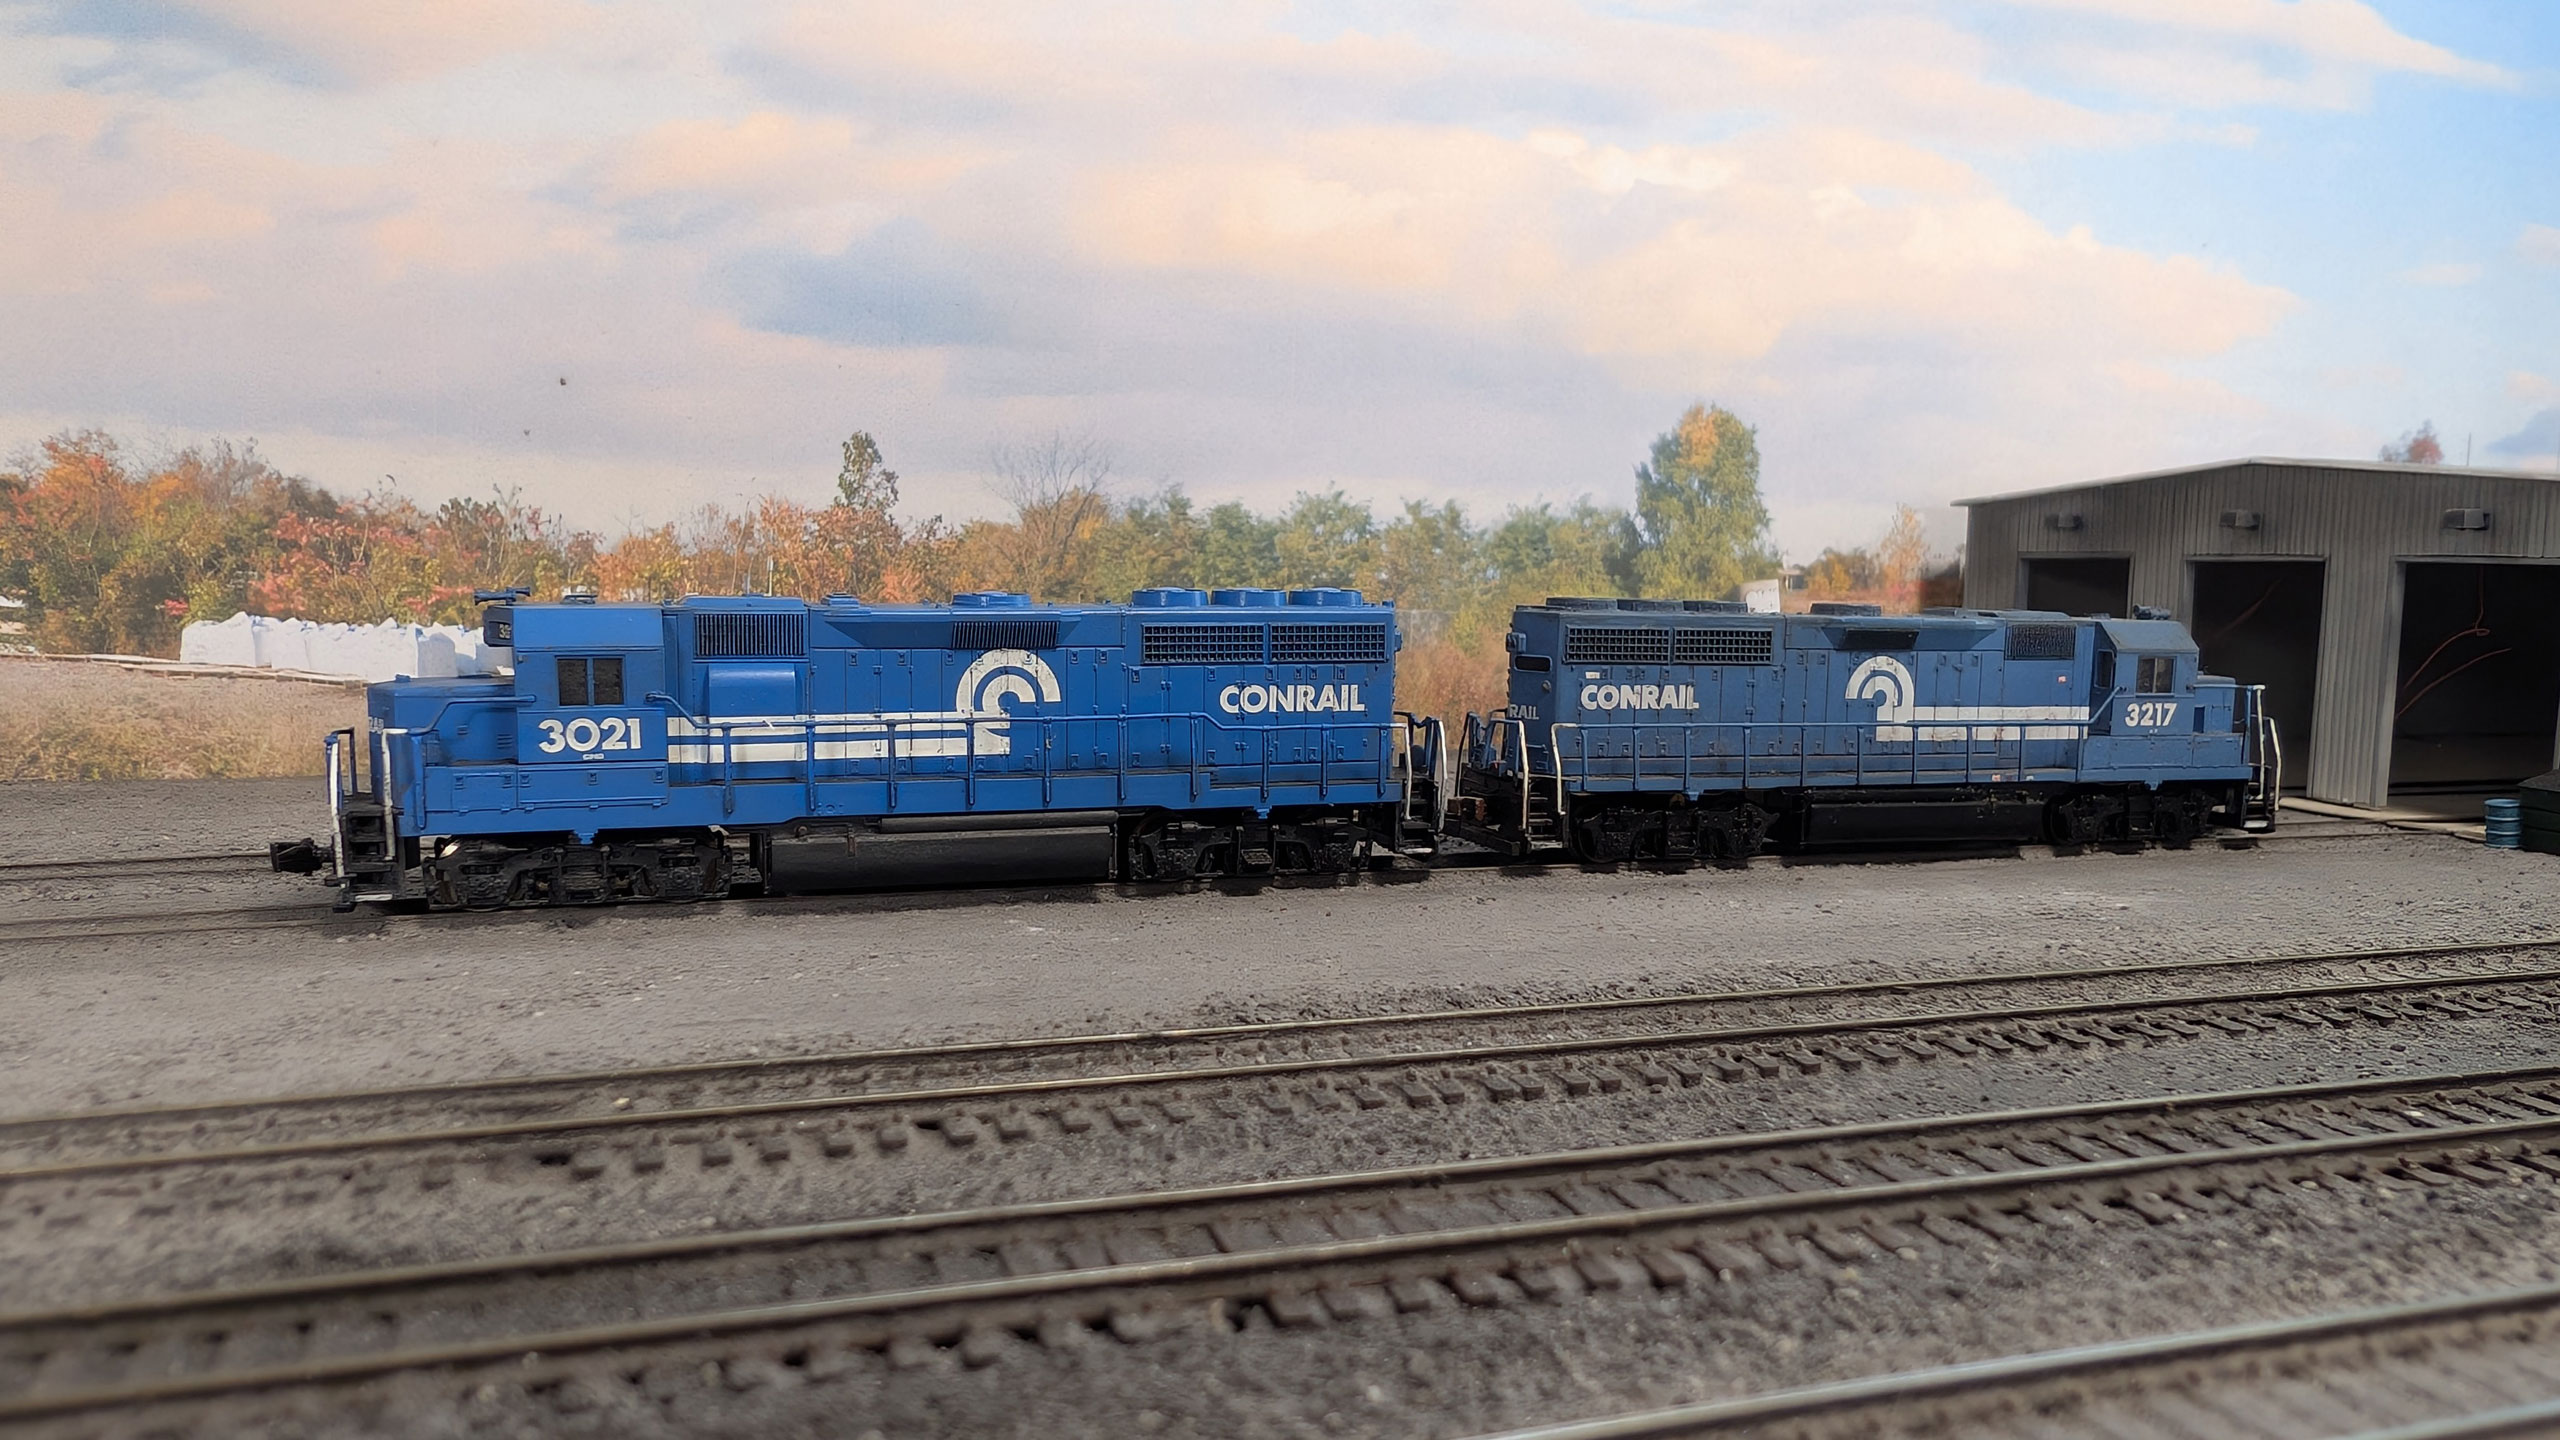
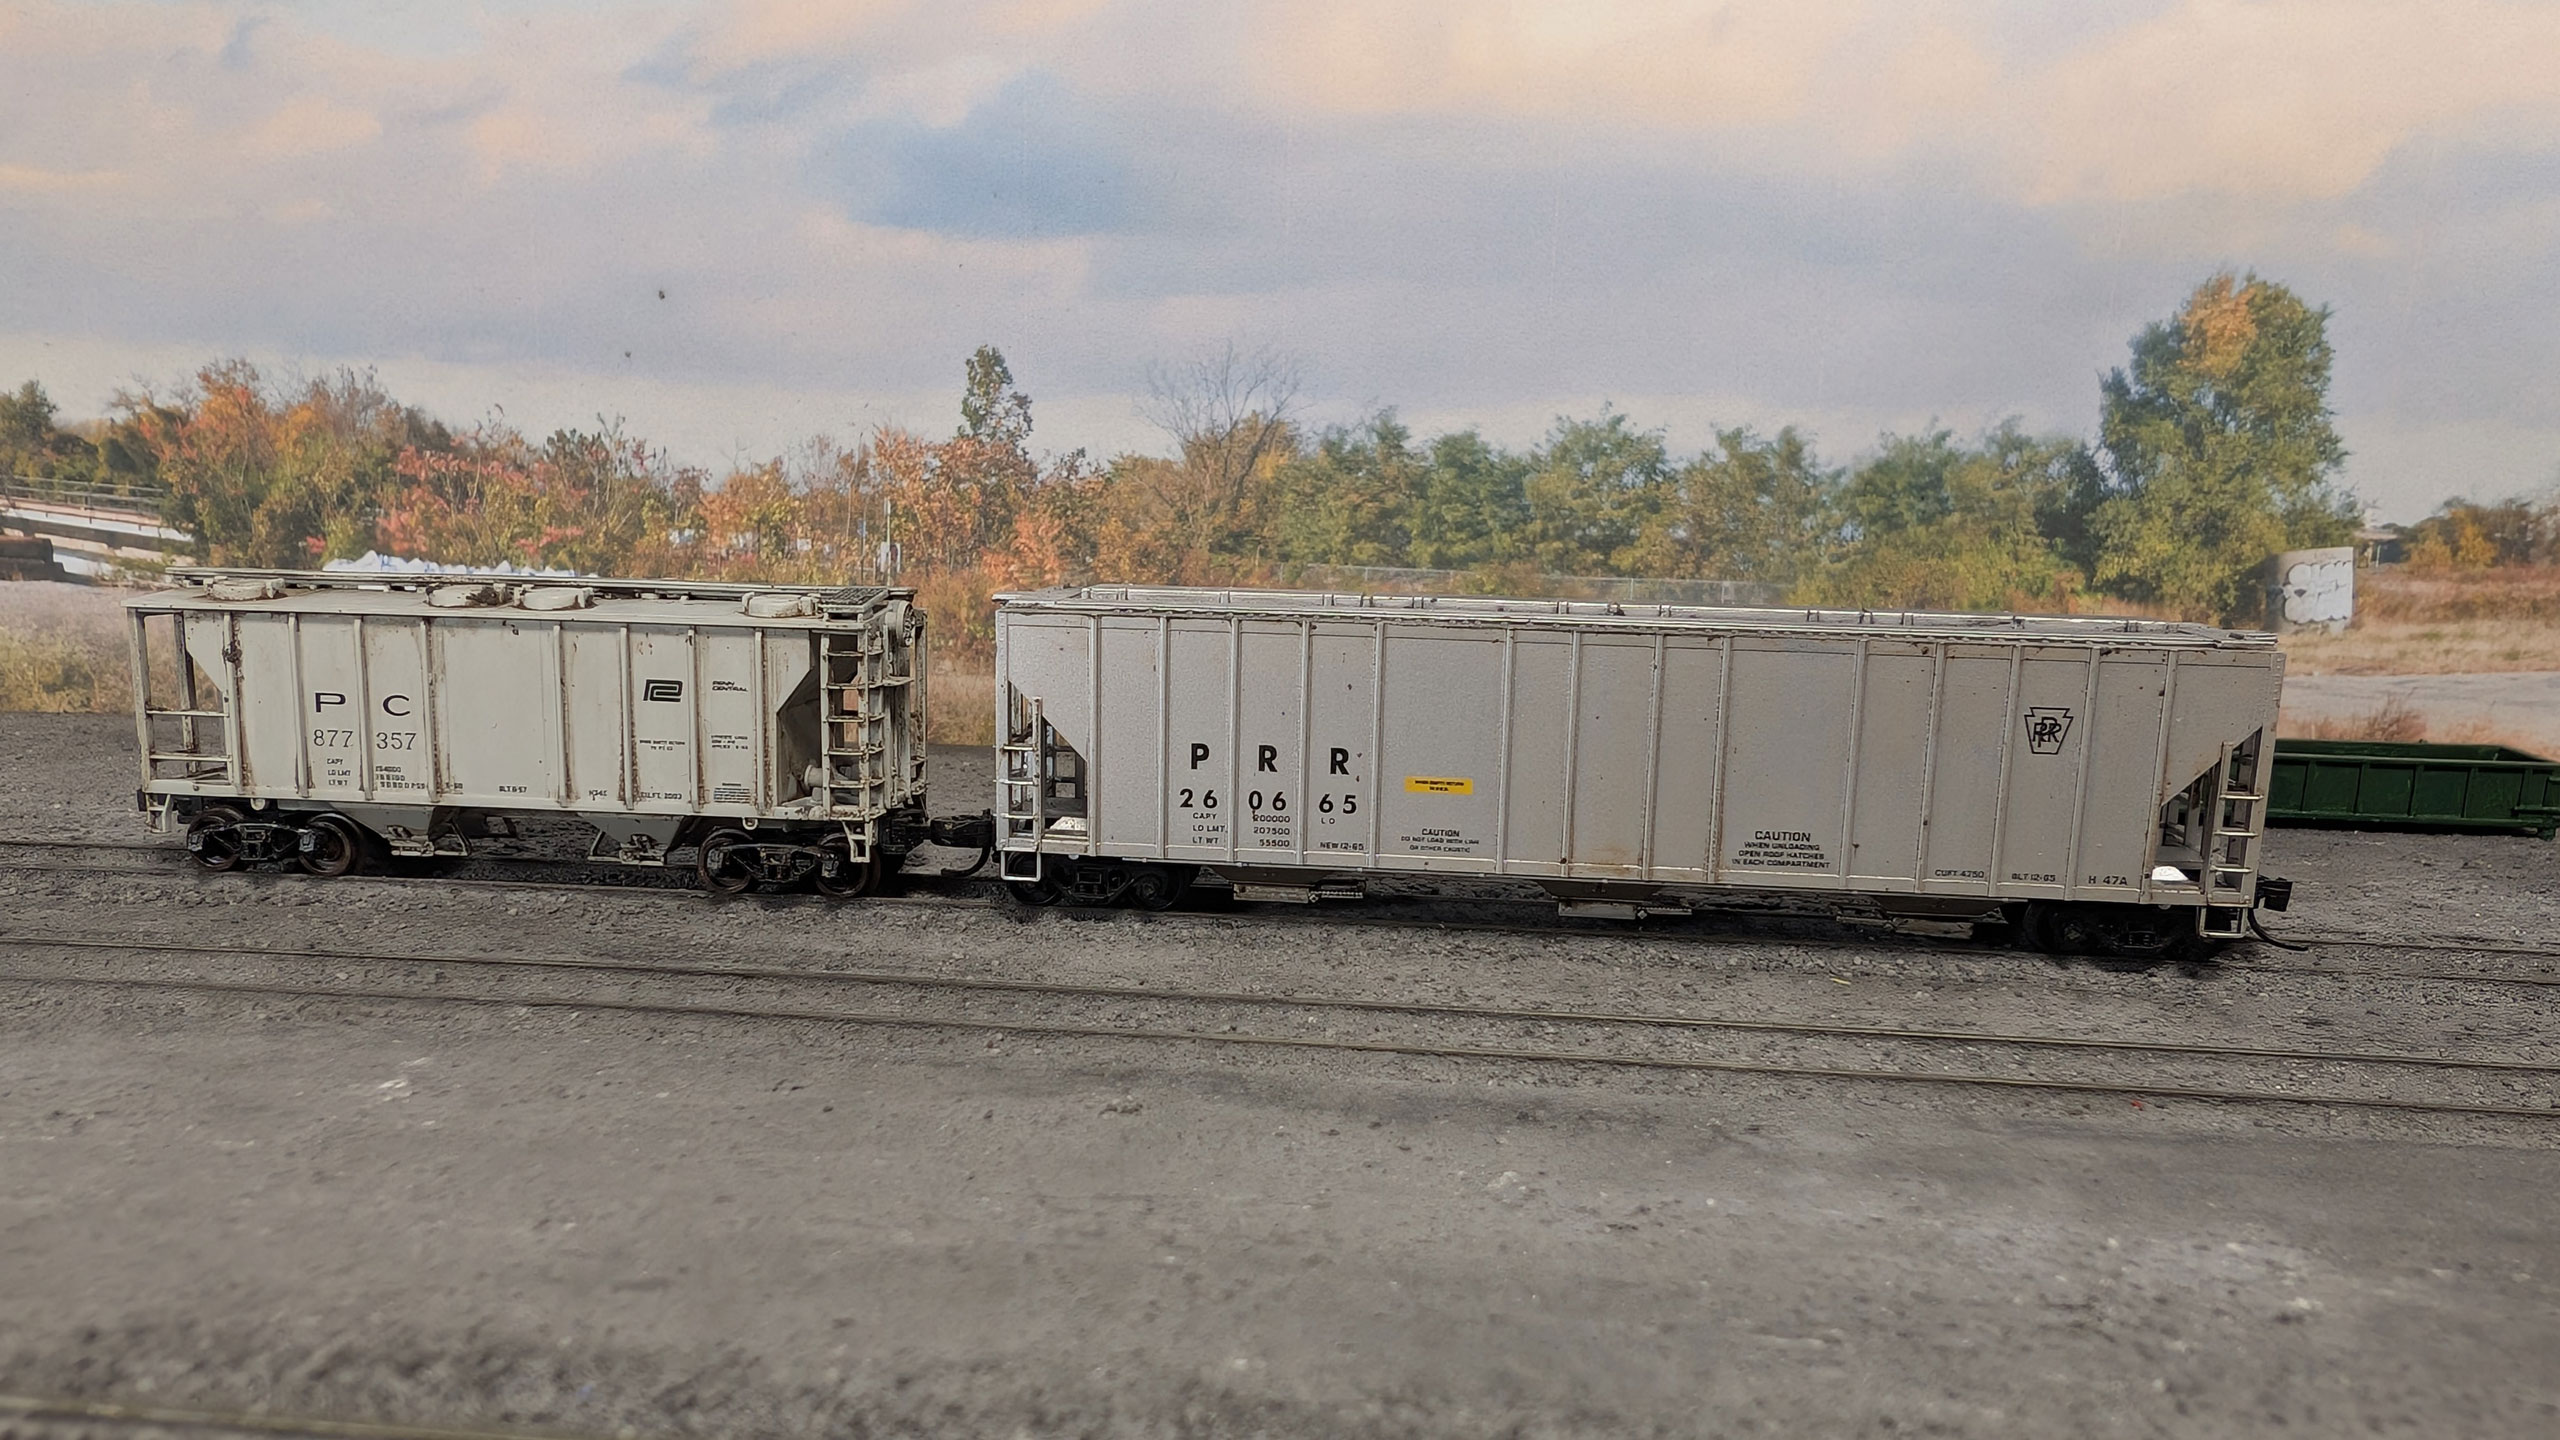
But it also works as a full-fledged TTRAK module when placed in a layout.
/>
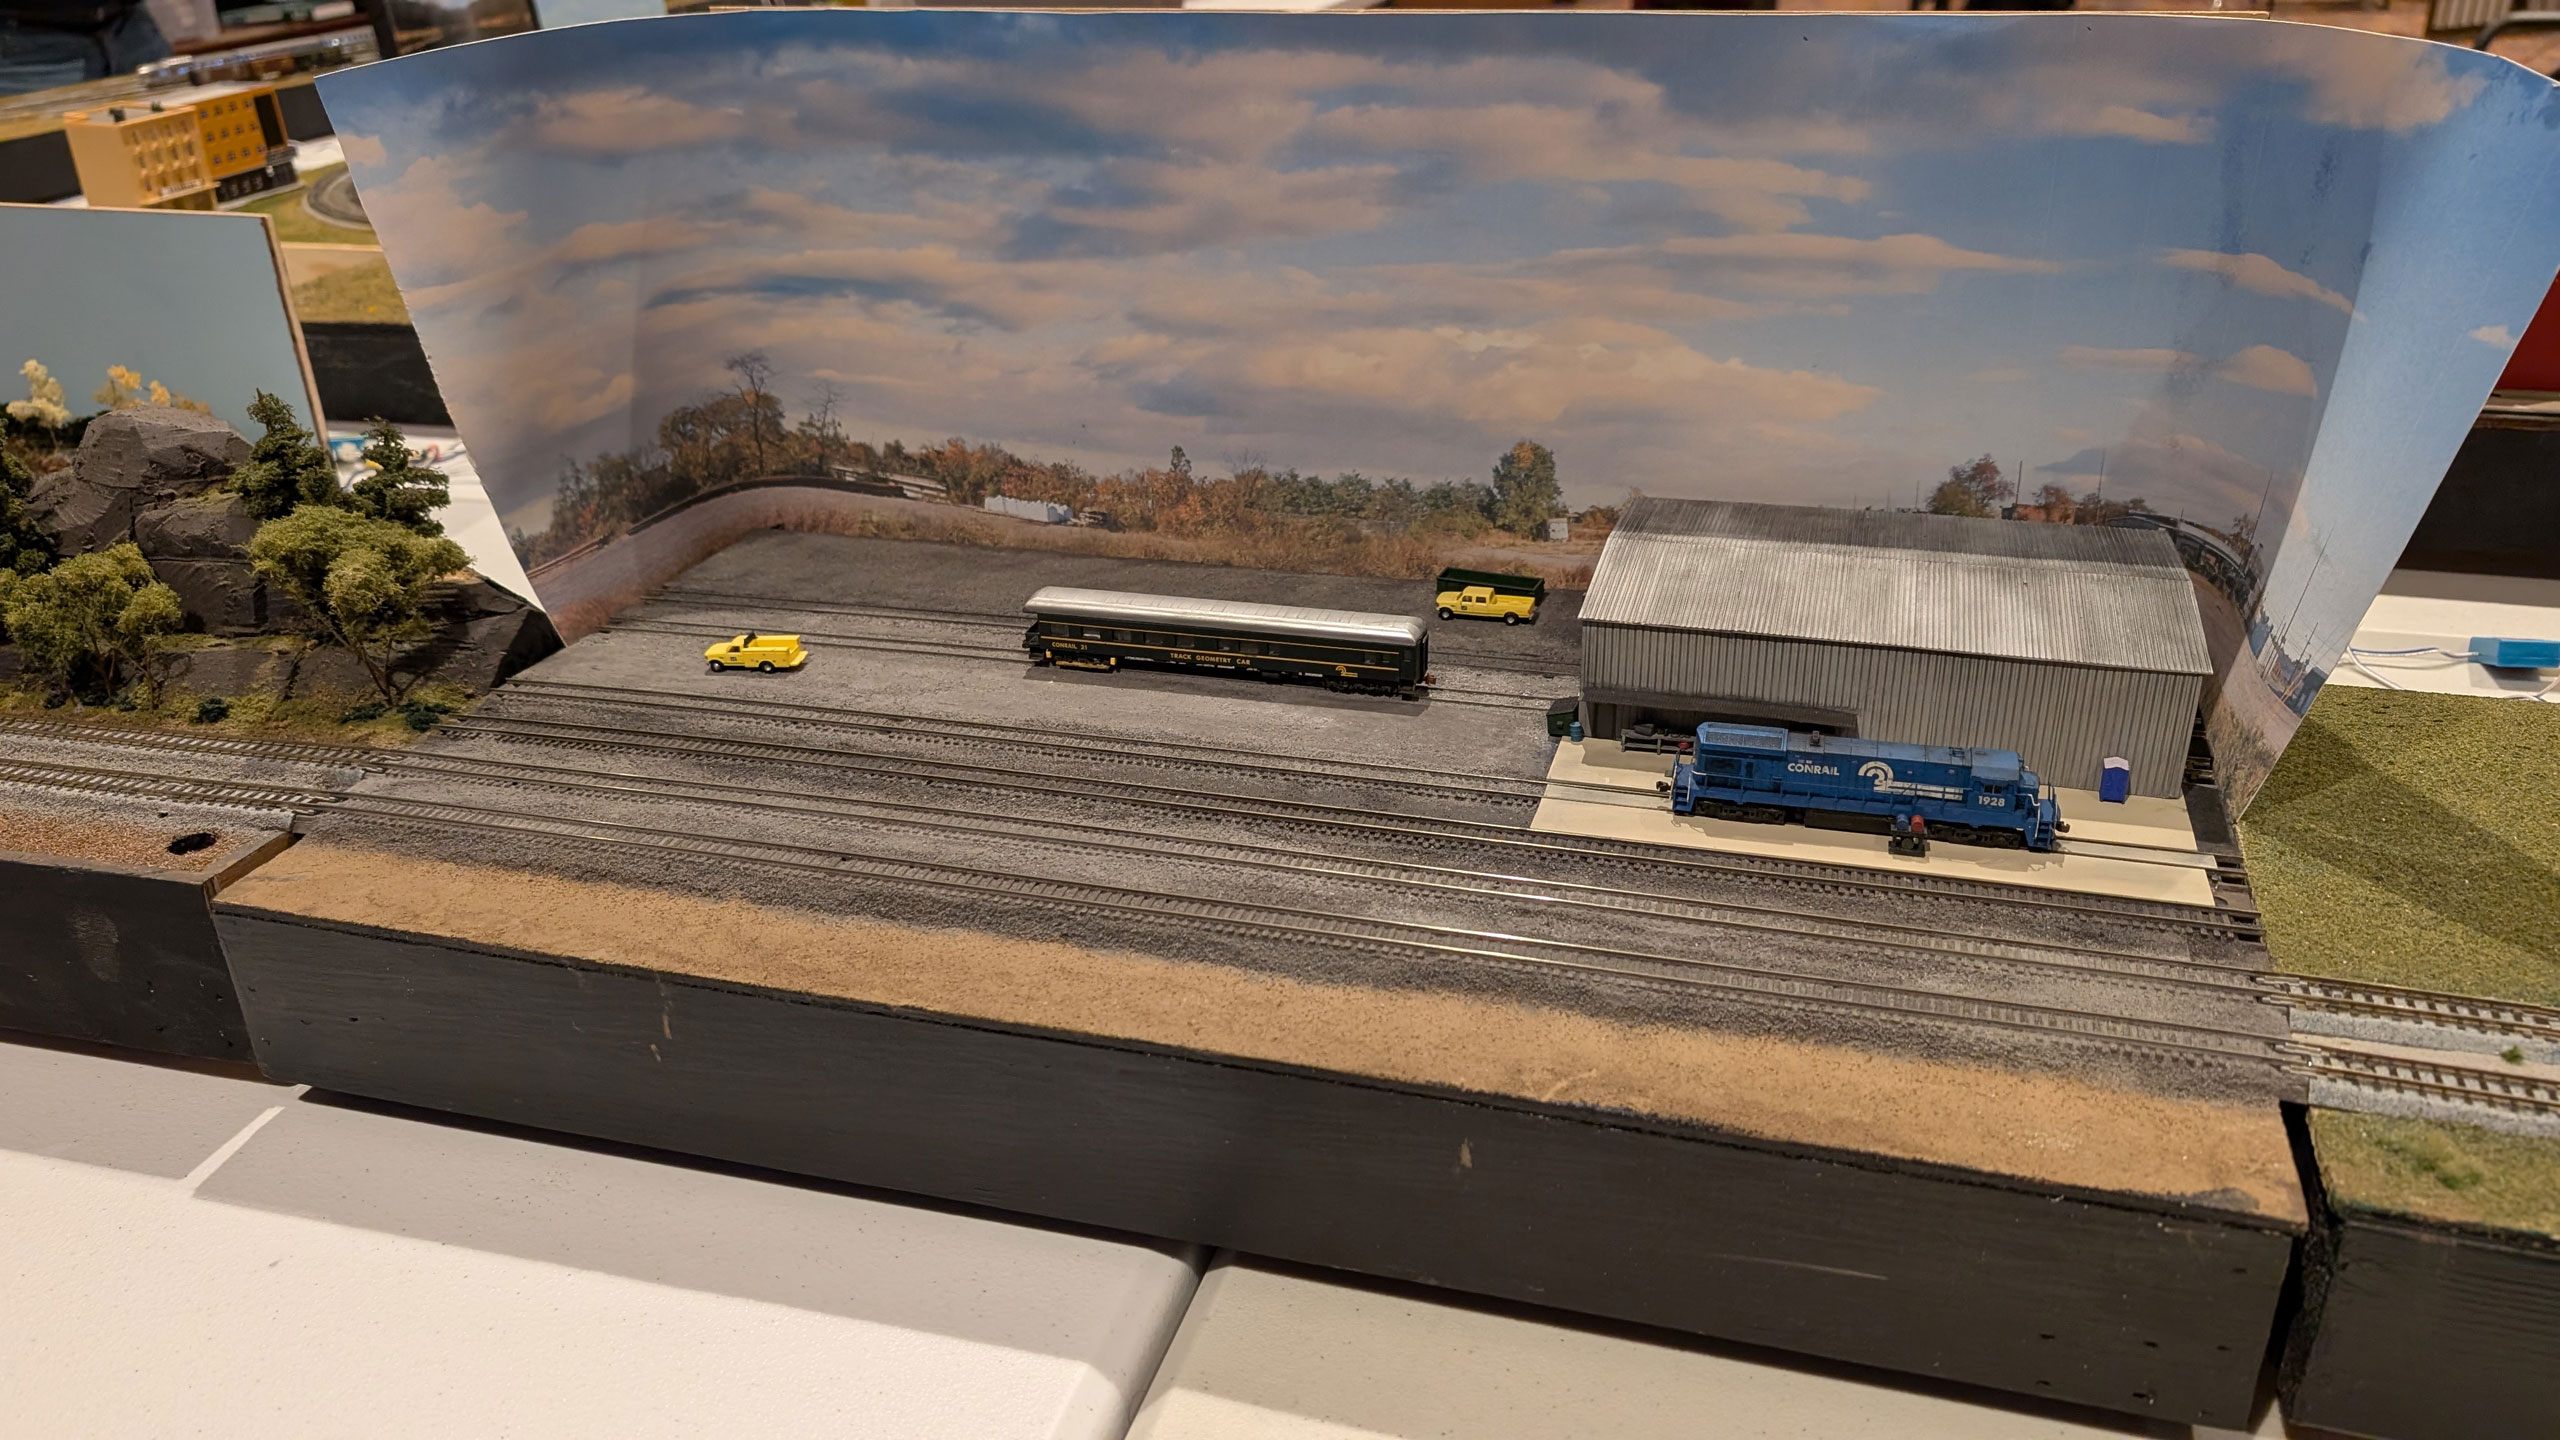
I often "finish" a project like this then pick it back up again at some point to do make improvements. I have a bunch more lighting to add so that'll likely happen at some point in the future, but for now it's doing its job quite nicely.


